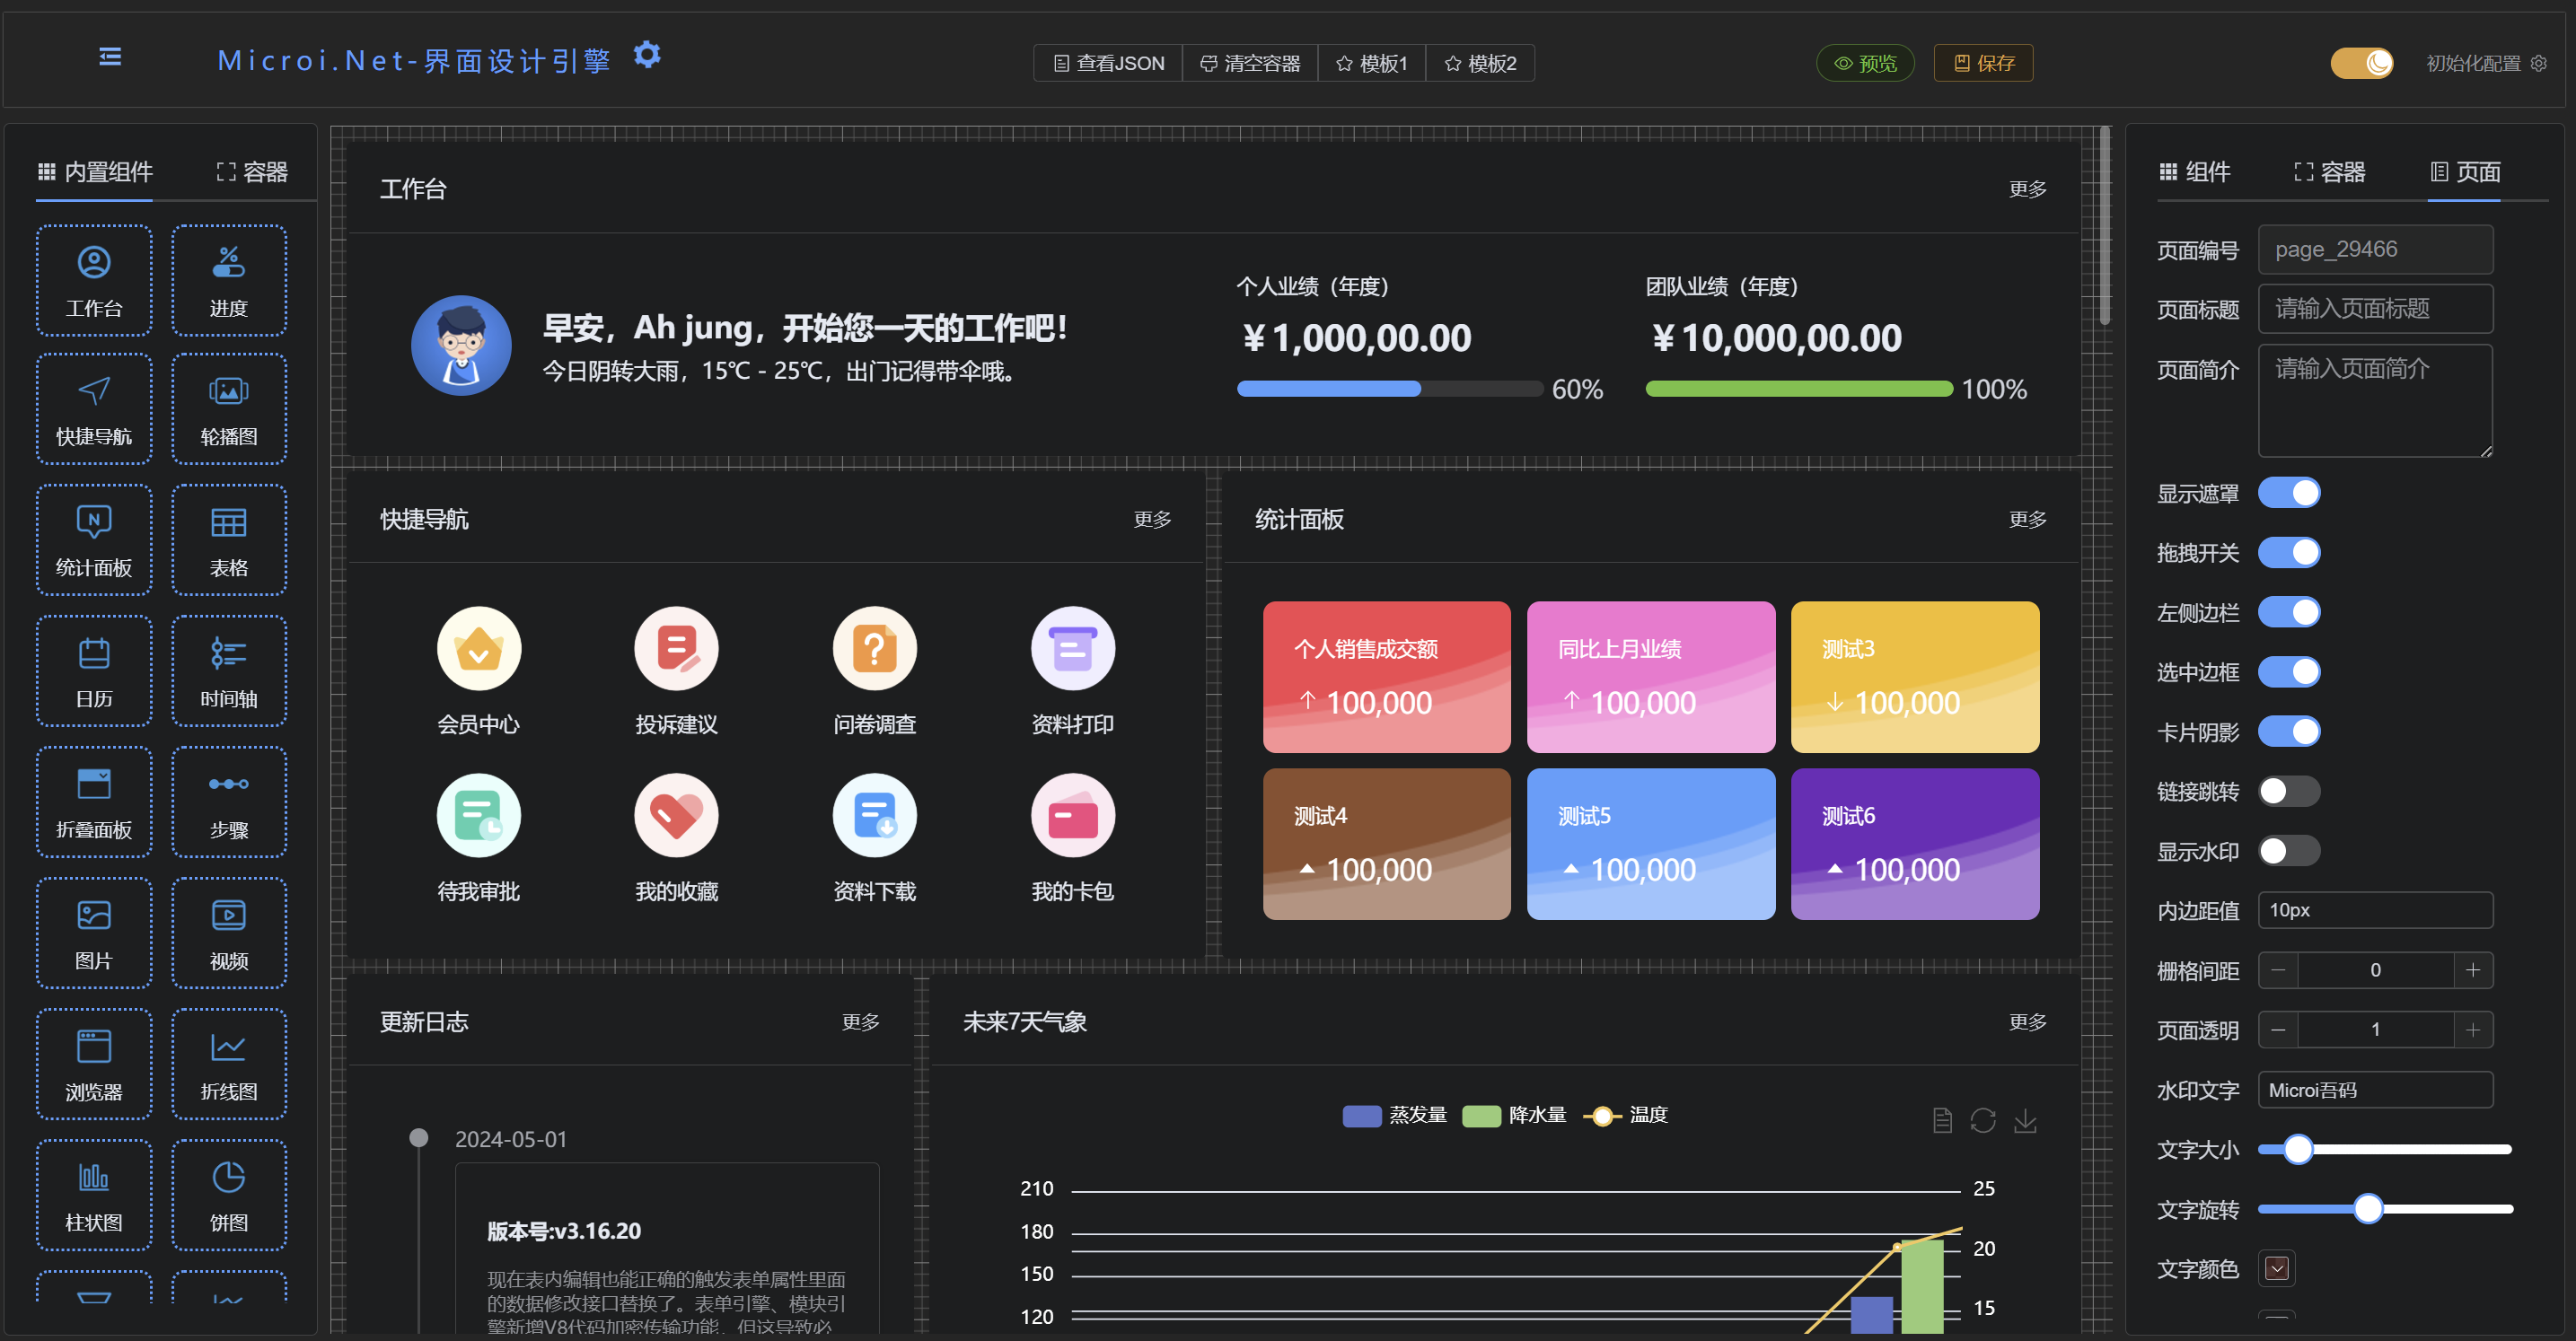
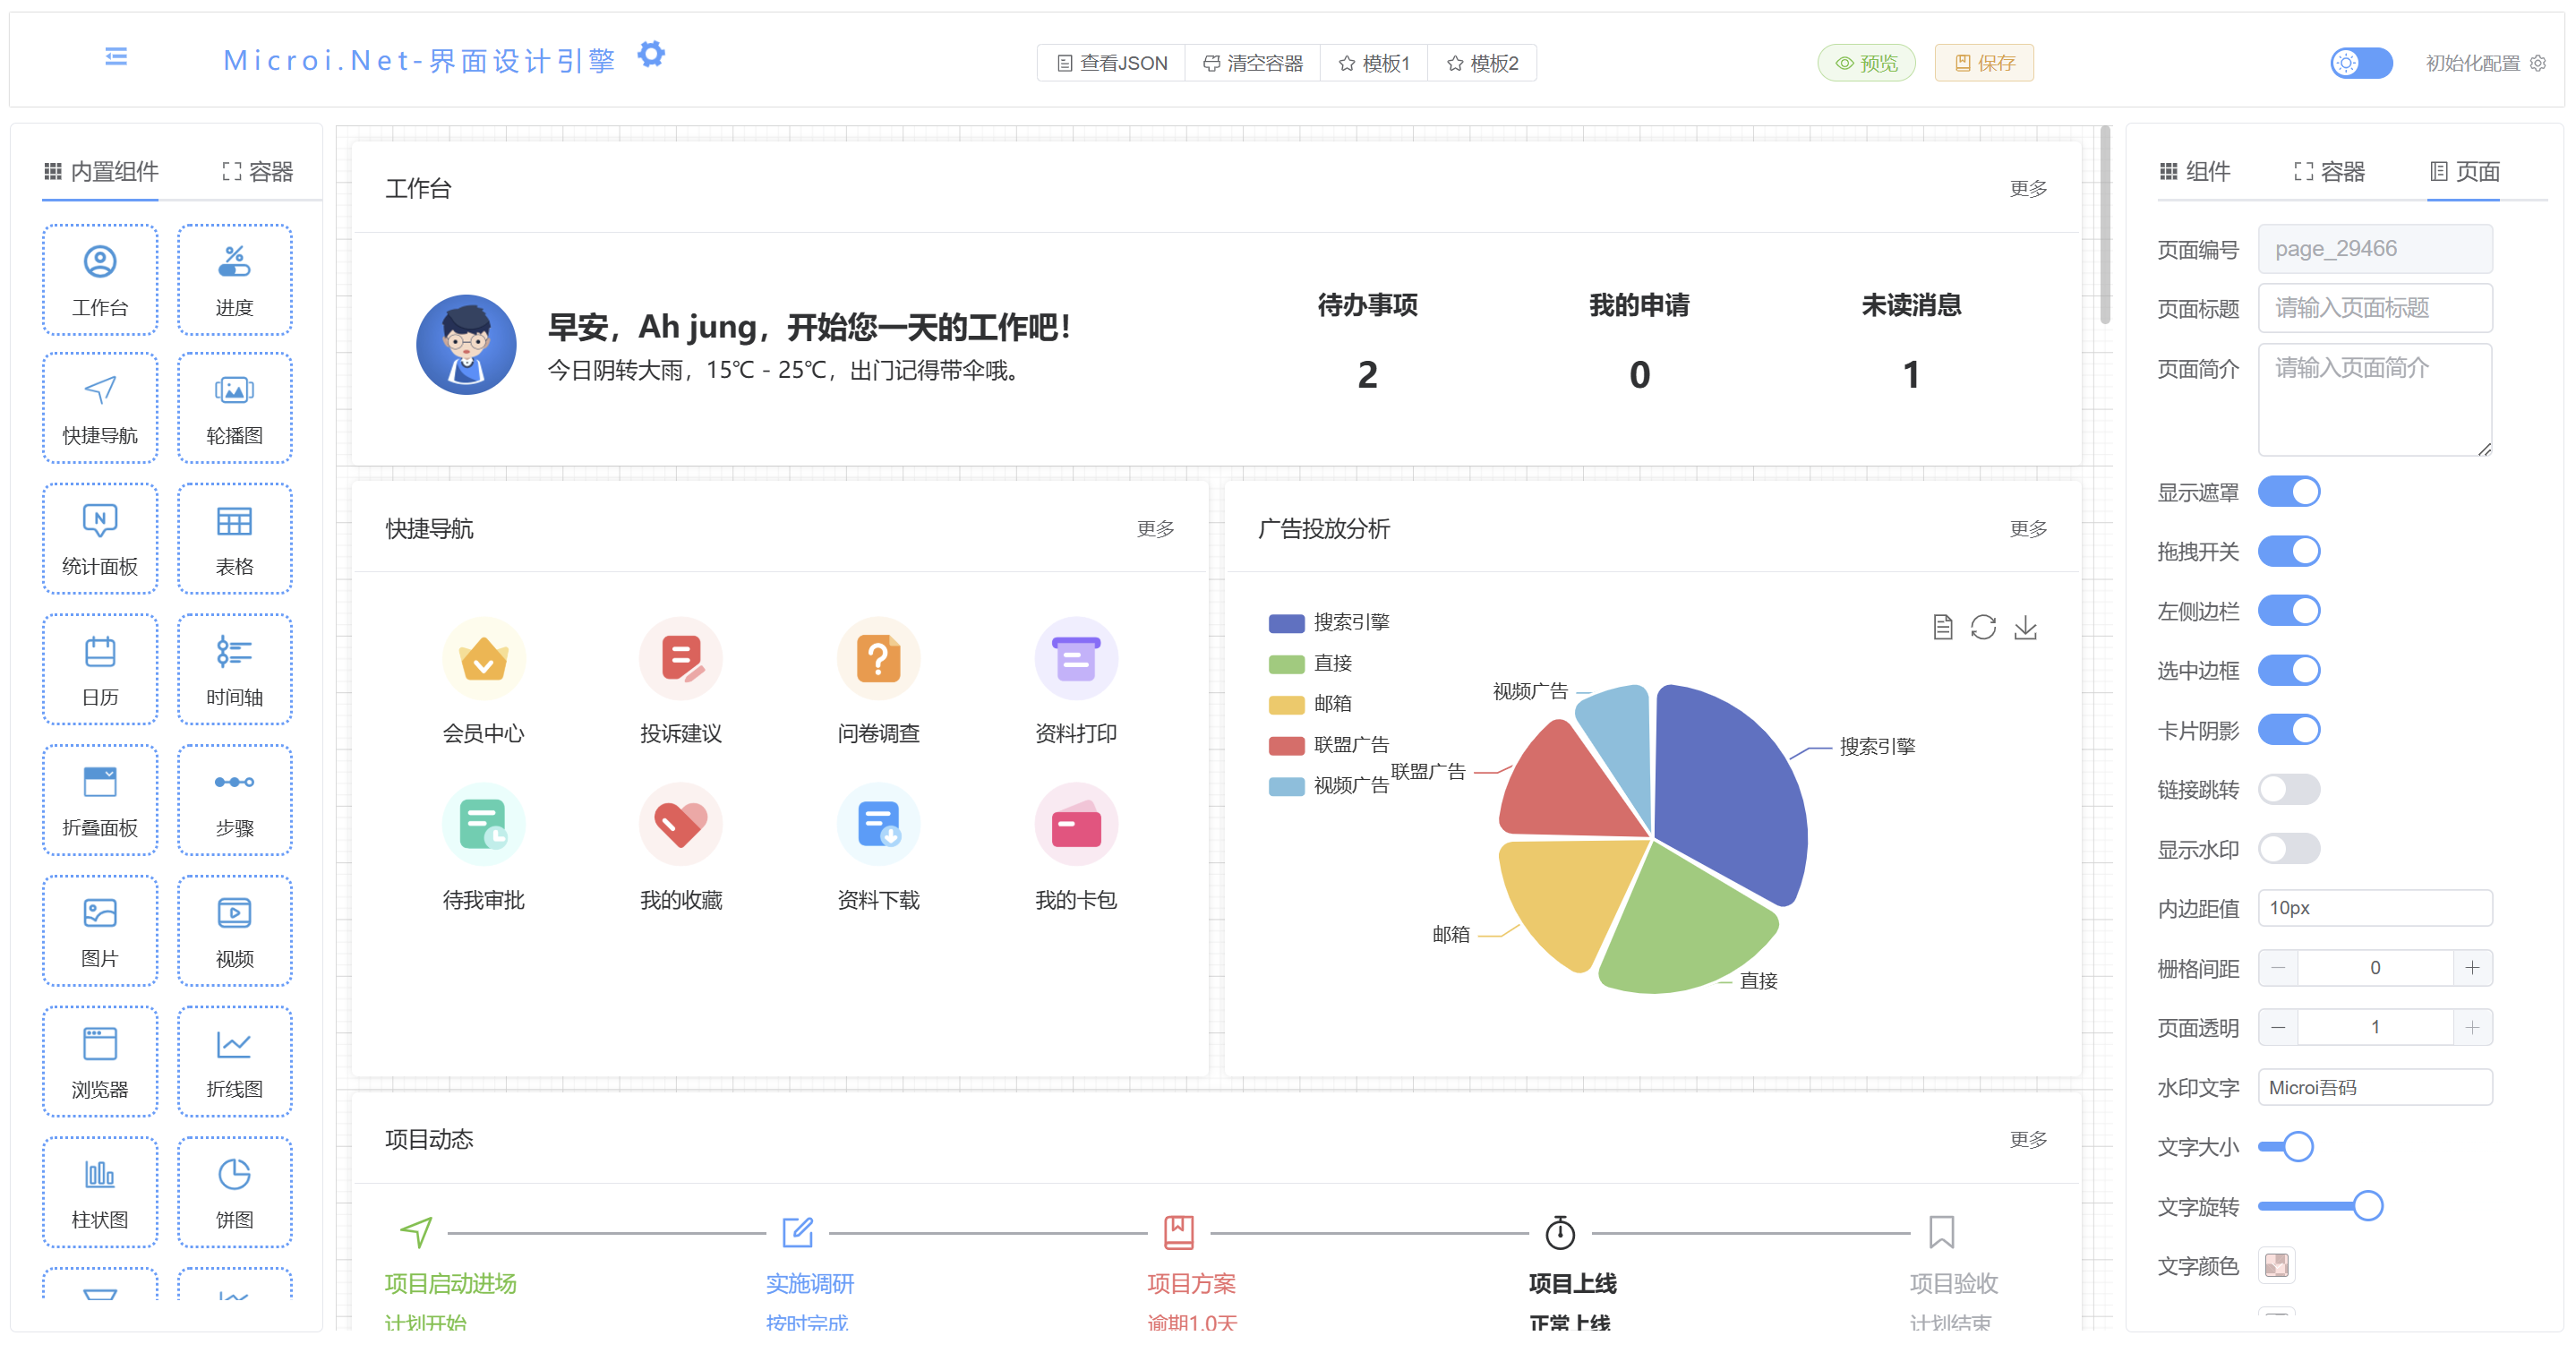
Interface Engine
Introduction
The interface design engine mainly solves the pain points of the rapid design page of the low-code platform page. Quickly design the page by dragging and dropping, and generate the corresponding code. The platform is completely separated from the interface engine and can be deployed independently, truly achieving zero coupling and no pollution.
Demo Address: https://www.nbweixin.cn/autopage/
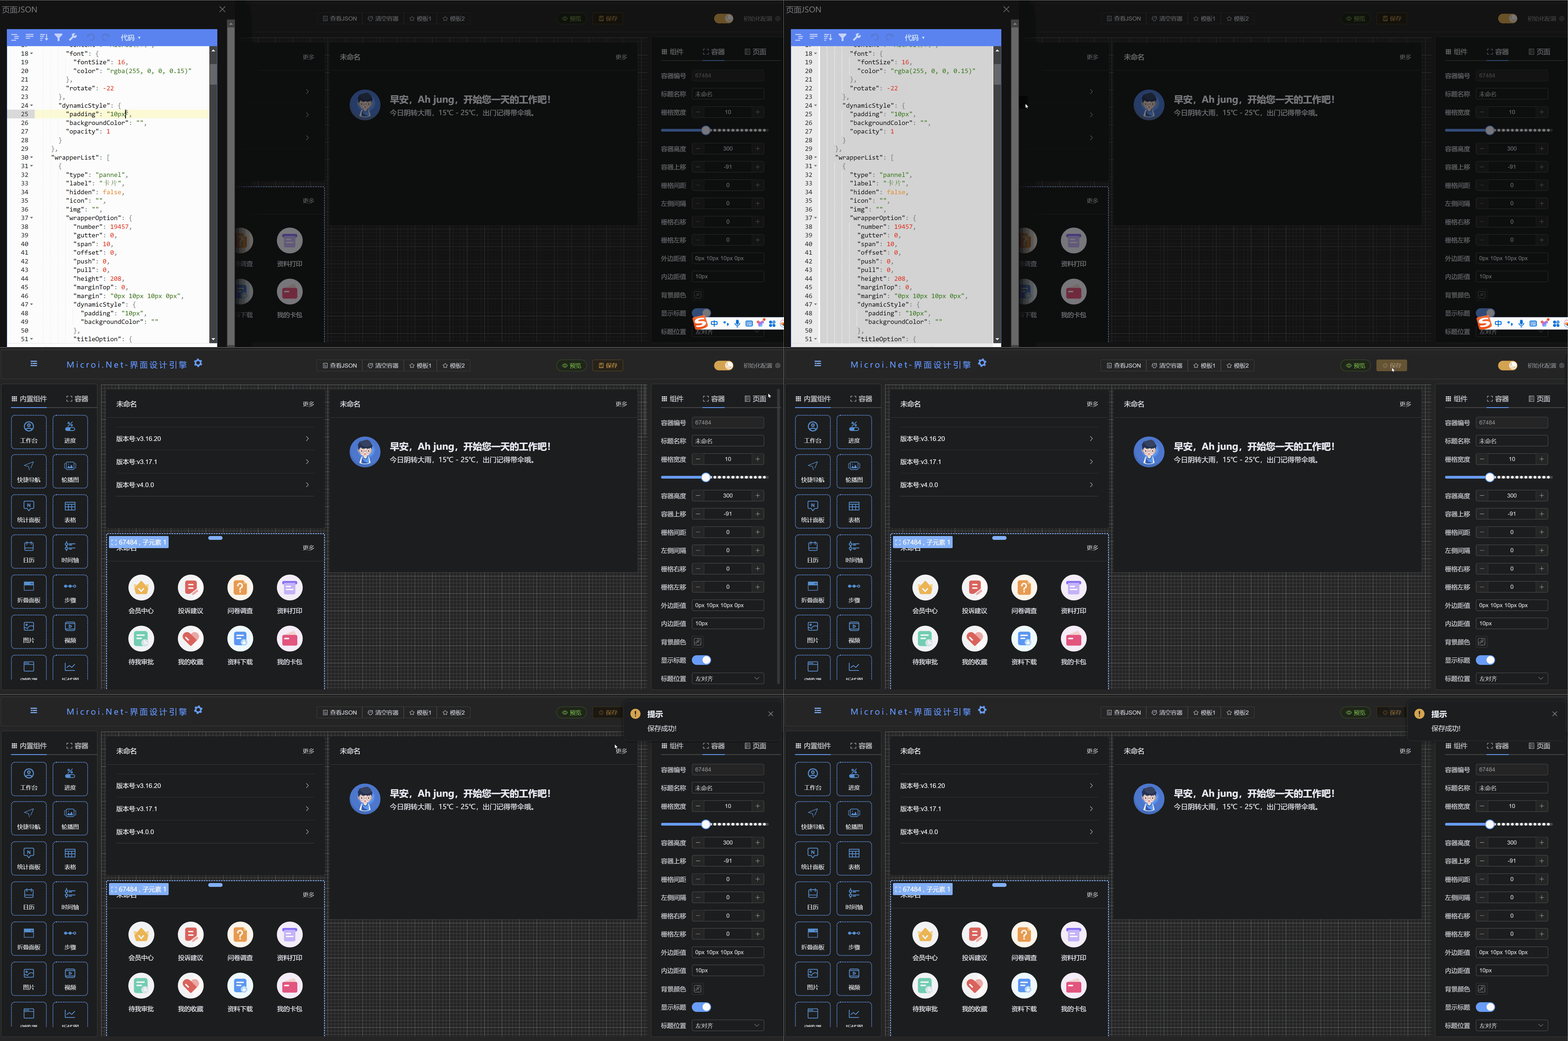
online demo renderings:
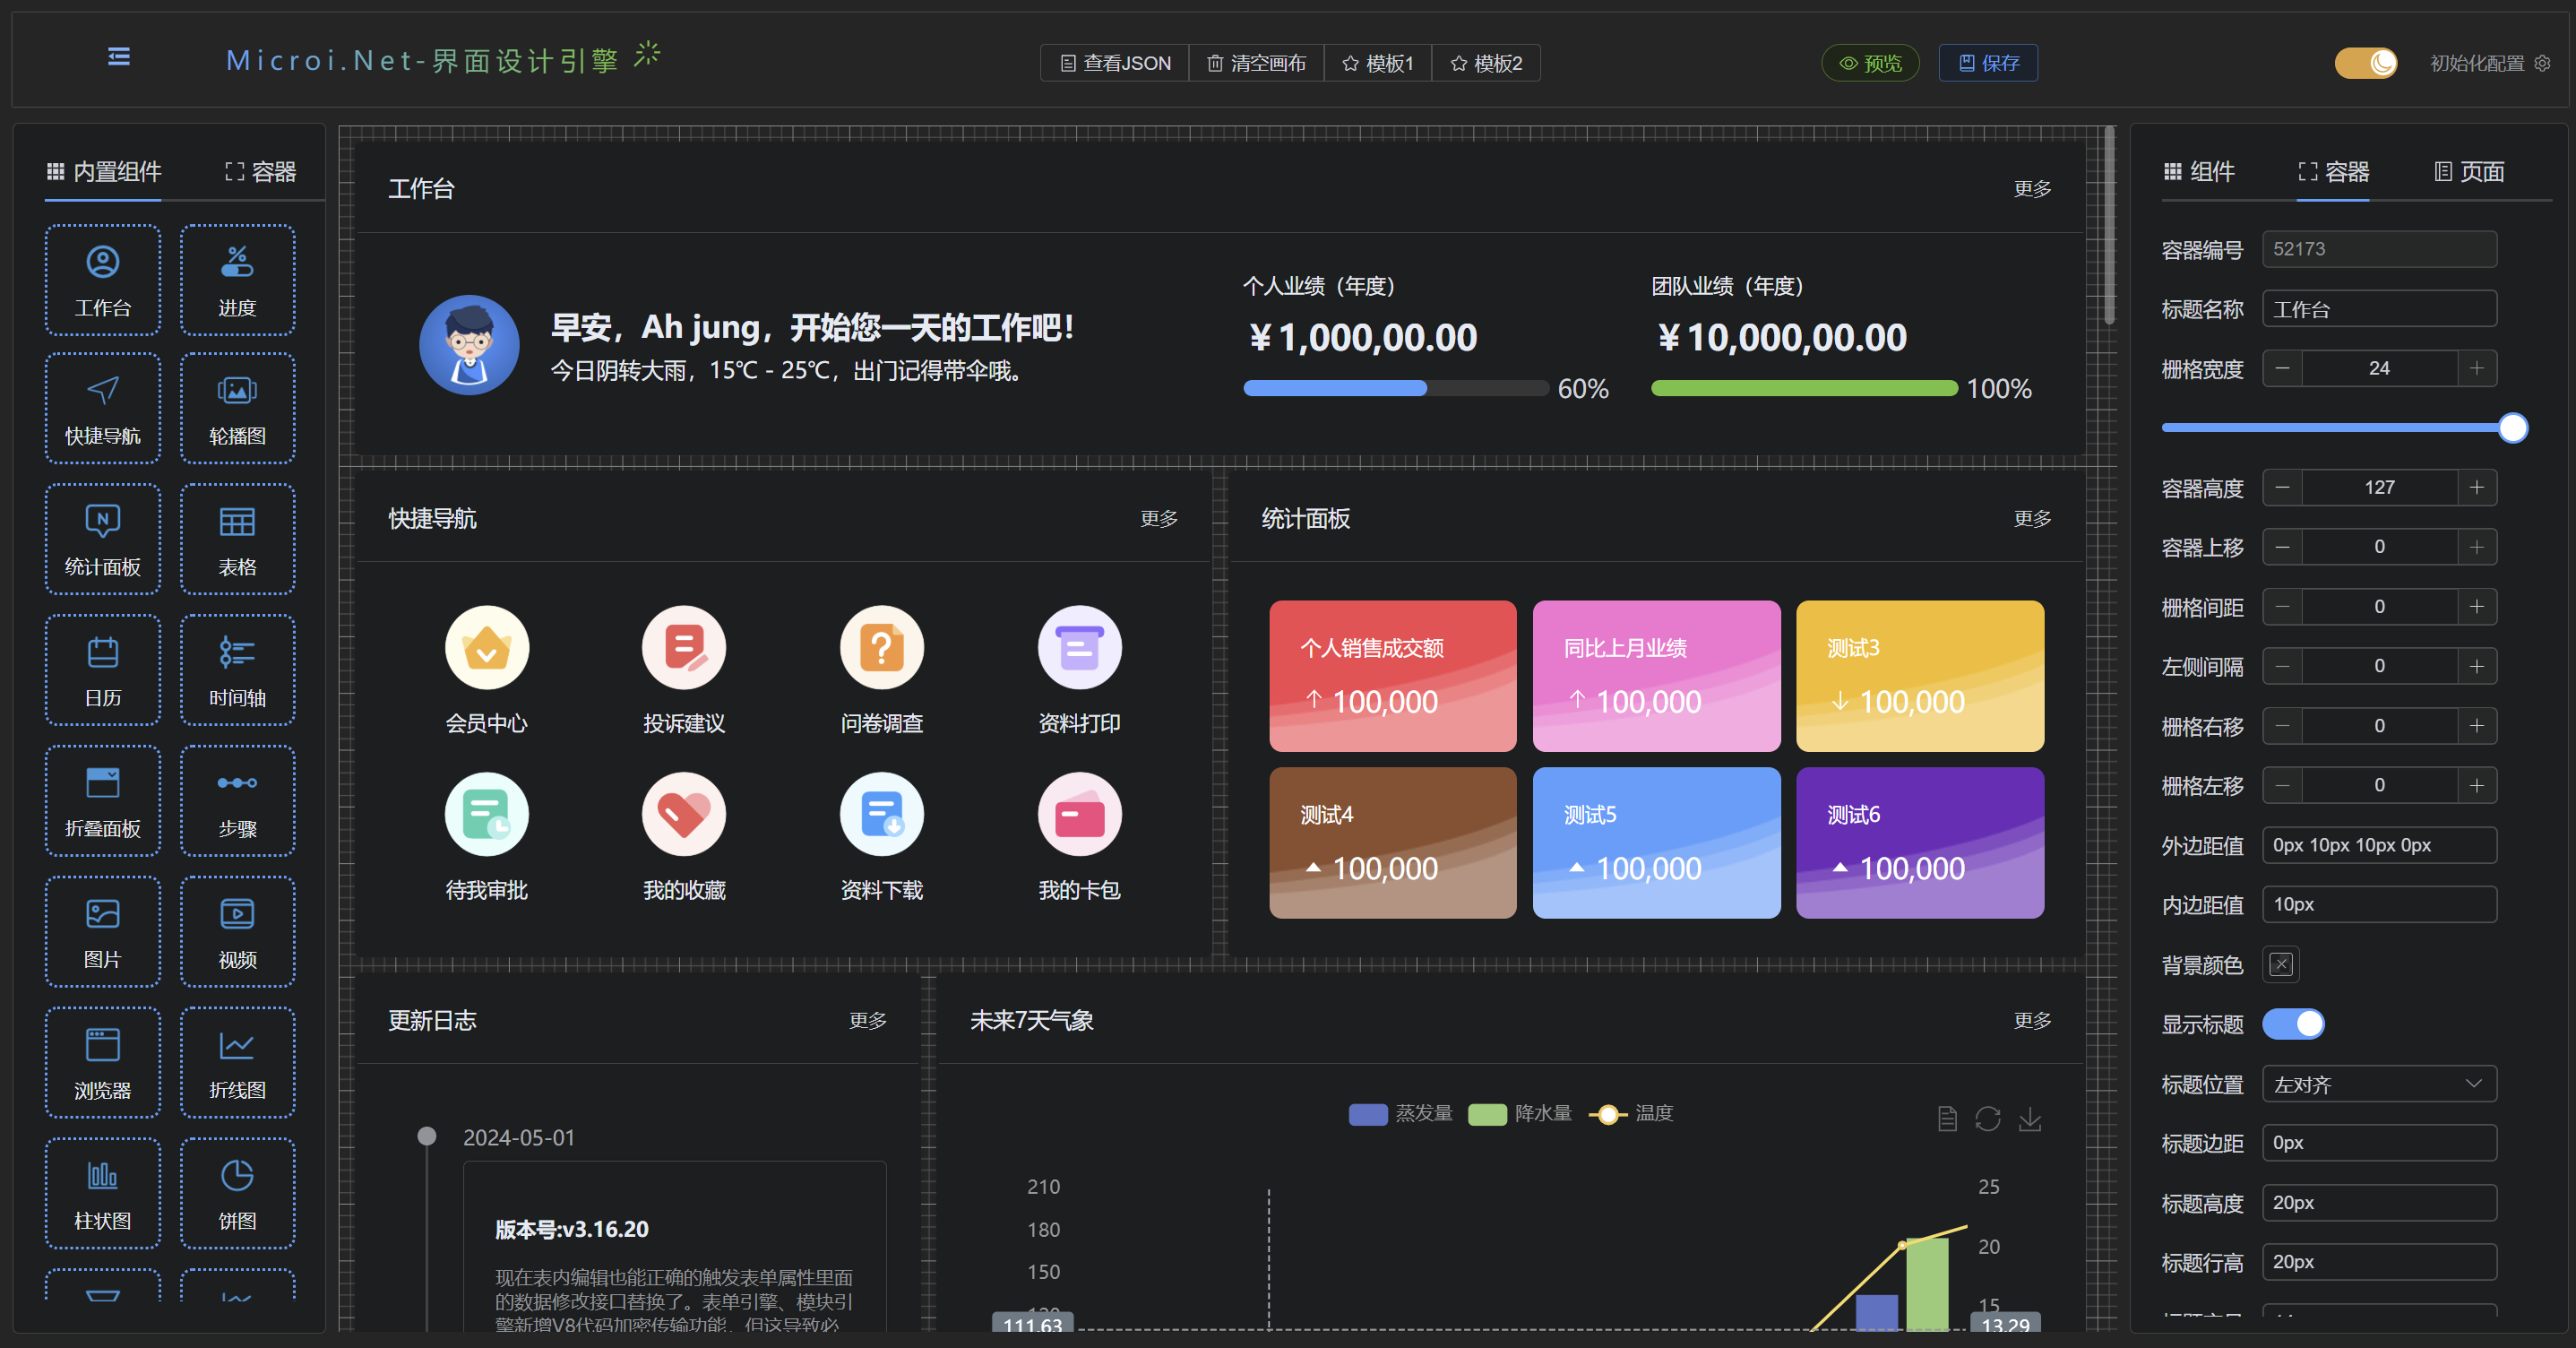
Introduction to plug-ins🎖️
The design engine is divided into two core components, the designer and the renderer:
🔸The designer is responsible for quickly building exquisite pages, such as home pages, dynamic billboards, large screens, etc. It adopts a minimalist design concept and fool-like operation, which greatly reduces the technical requirements for developers.
🔸The renderer is responsible for rendering and data-driven page presentation. In the past, this part of the work may be done by the front-end or UI. Now ordinary back-end developers or operation and maintenance and sales roles can be competent. Greatly reduce the cost of team research and development
Quick to get started
The interface engine has some commonly used components built inwidgetAll styles can be controlled by parameter settings. The structure mainly includes the containercontainerand components. A container can hold multiple components, containers and containers can be dragged and sorted, and components and components can be dragged and sorted. Containers and components can be dragged and dropped in width and height and matched at will. Some technologies are used to solve the problem of grid system collapse and waterfall flow typesetting can be perfectly realized.
Function Menu Introduction
The function menu bar is located in the head, mainly including shrinking the sidebar, viewing the page JSON, emptying the container, and presenting the template.
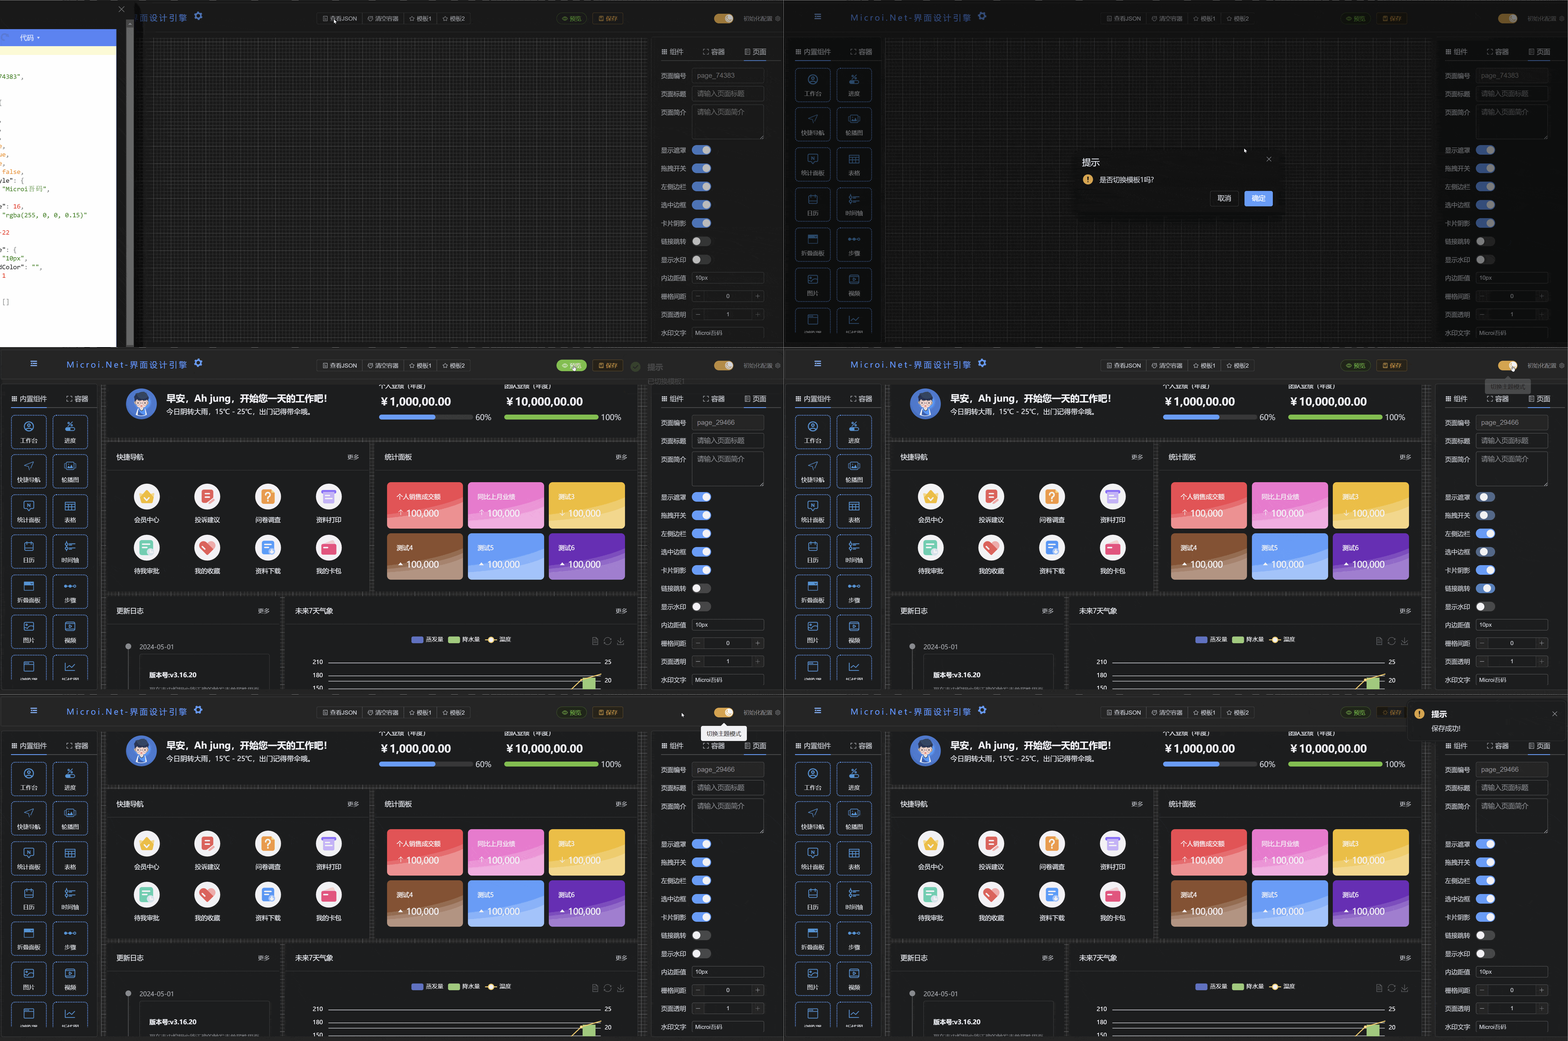
Component Panel Introduction
The component panel mainly includes built-in components, custom components, and container components.
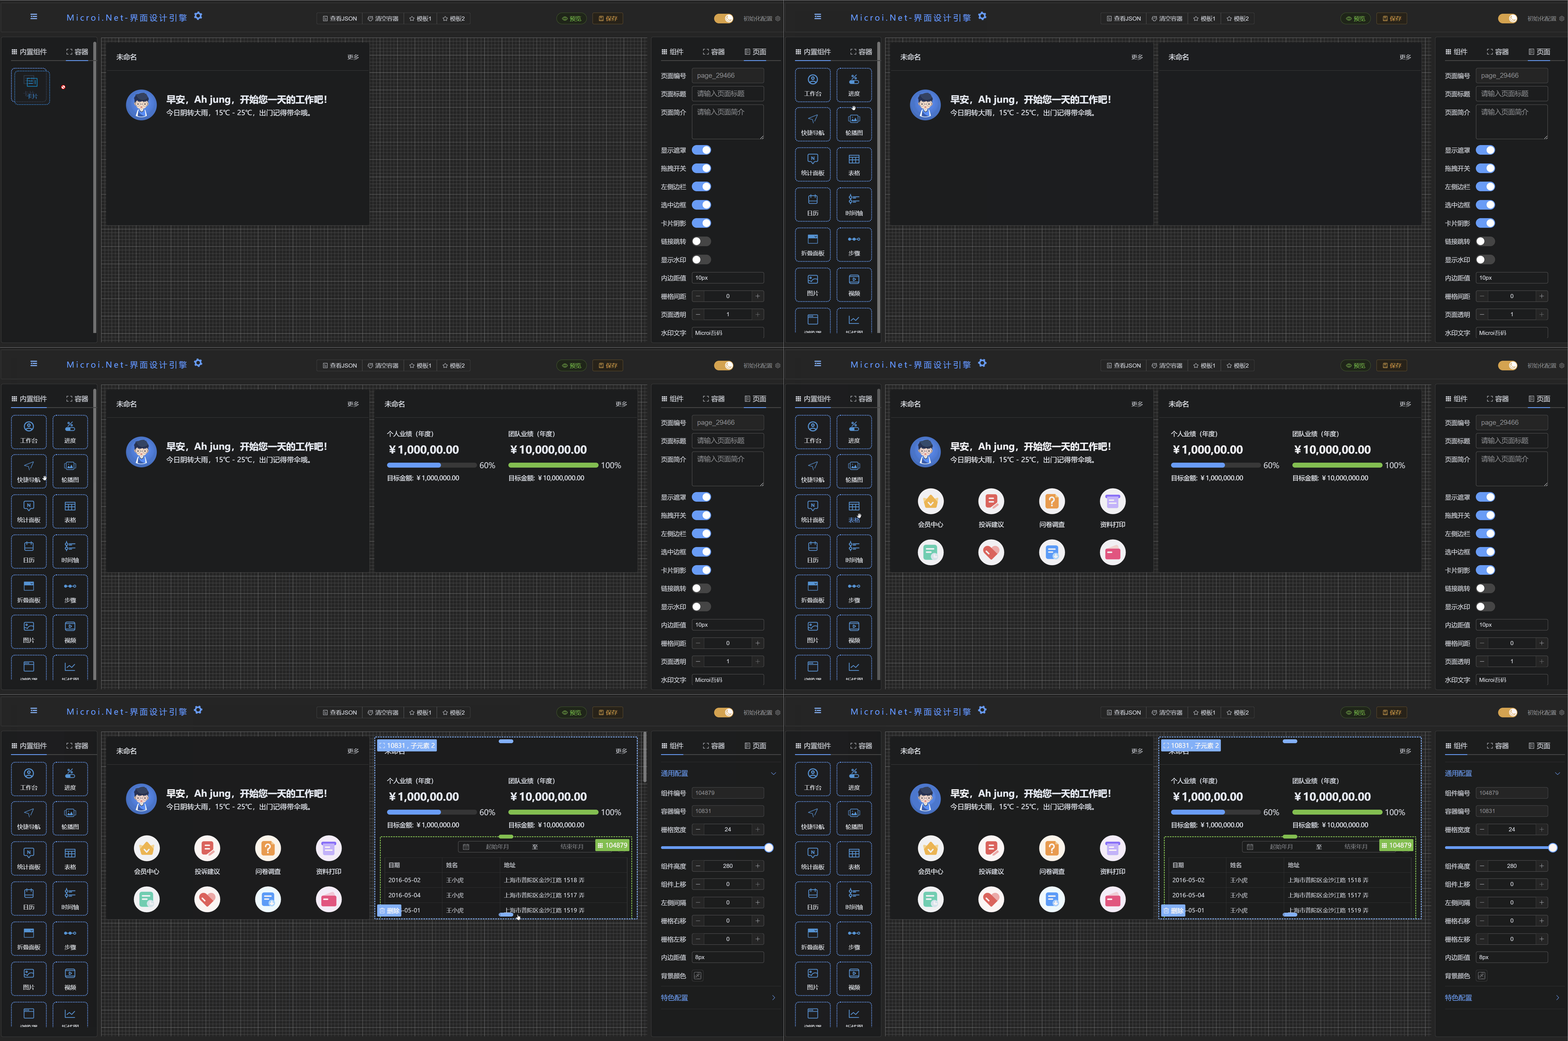
Introduction to the Properties Panel
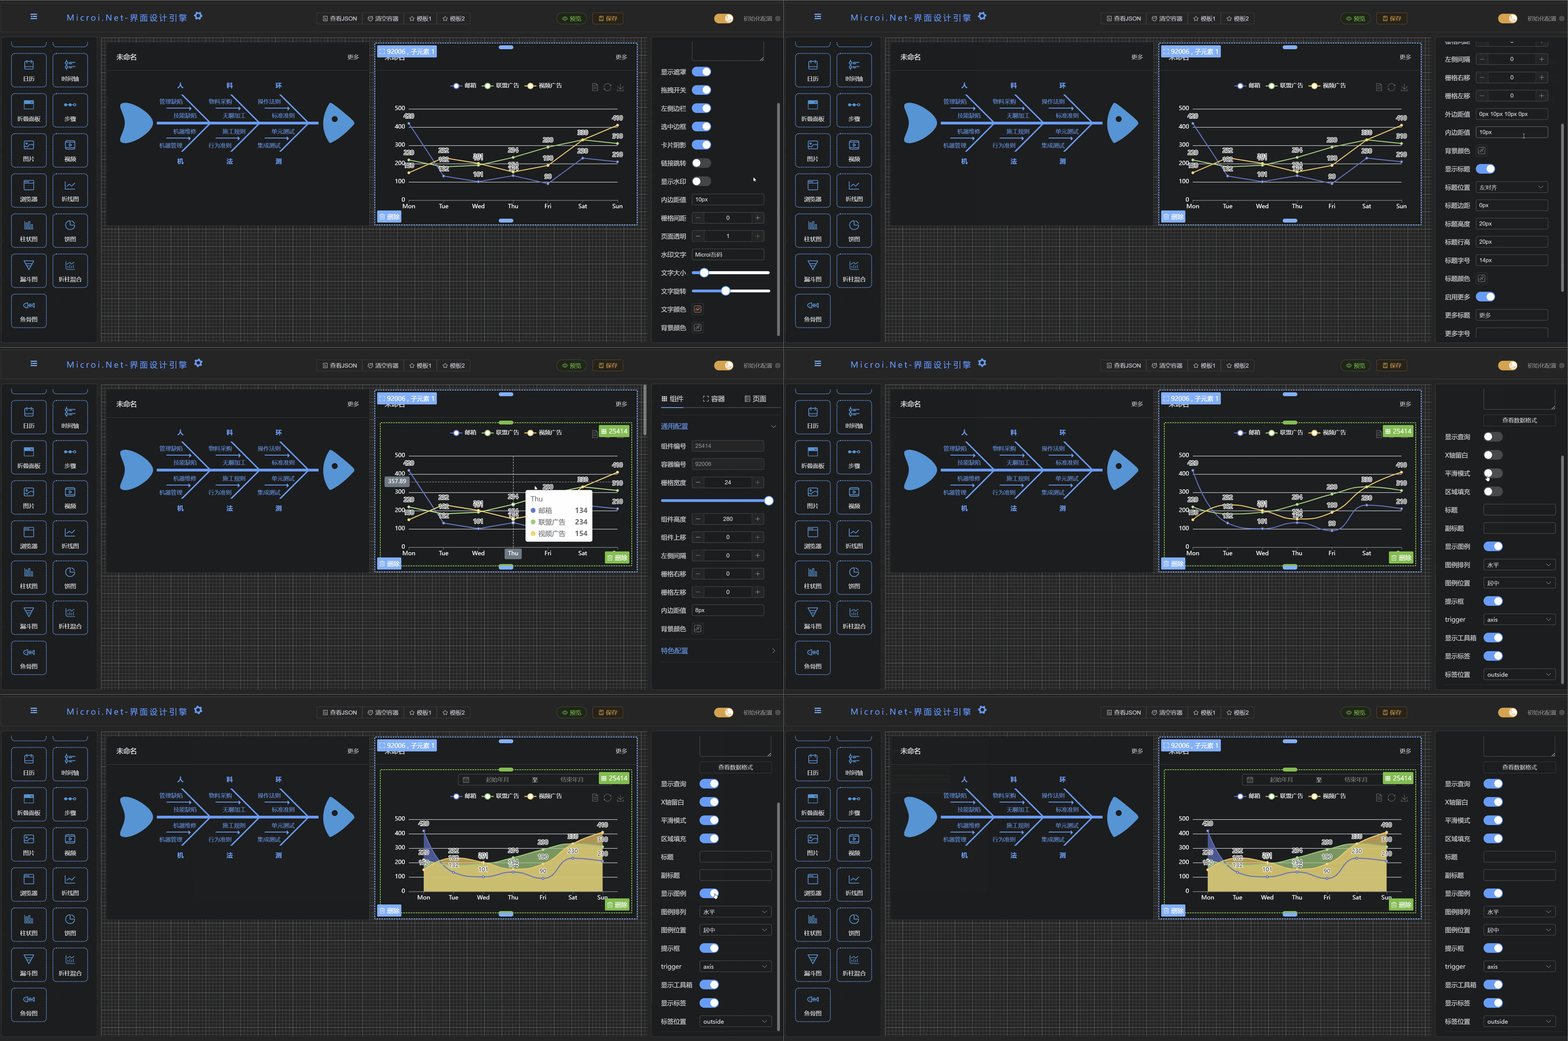
The property panel is located on the right side of the page and is divided into three parts: page parameter setting, container parameter setting, and component parameter setting.
- Page:The parameter mainly configures the basic information and global switches on the page.
- Container:The parameter settings mainly configure the style and title of the container.
- Components:The parameter settings are divided into general configuration and characteristic configuration. The general configuration mainly controls the width and height margins of the components.
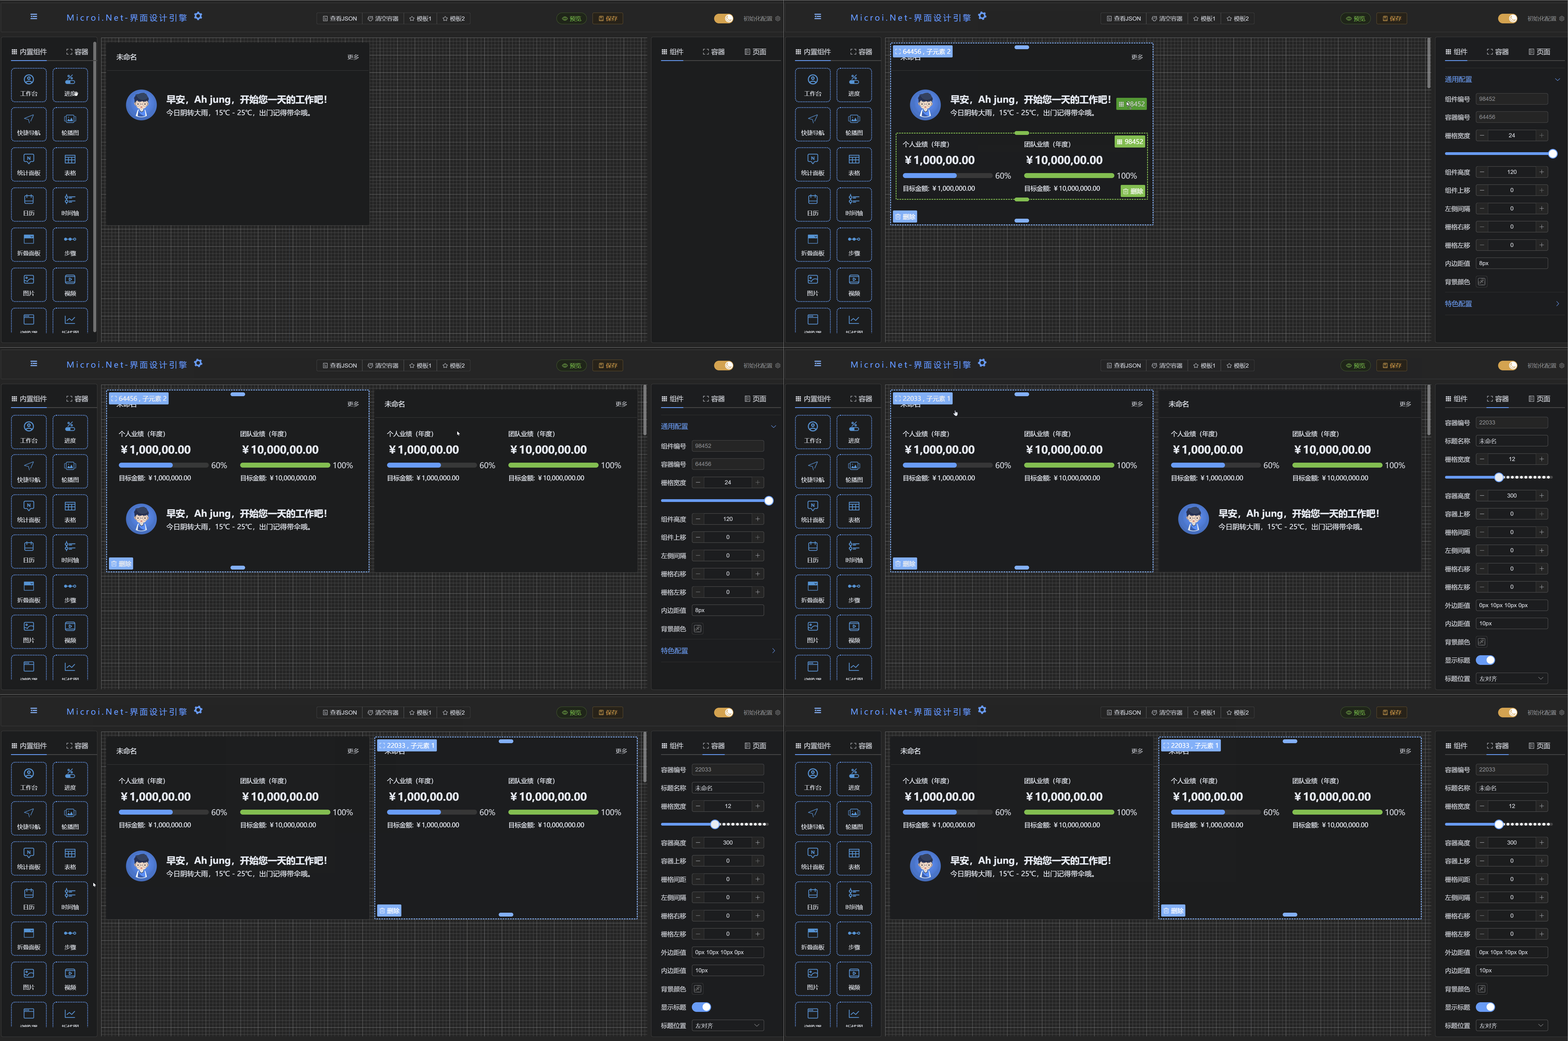
Drag-and-Sort Introduction
Containers and containers can be dragged to exchange positions with each other, and components and components can be dragged to exchange positions with each other.
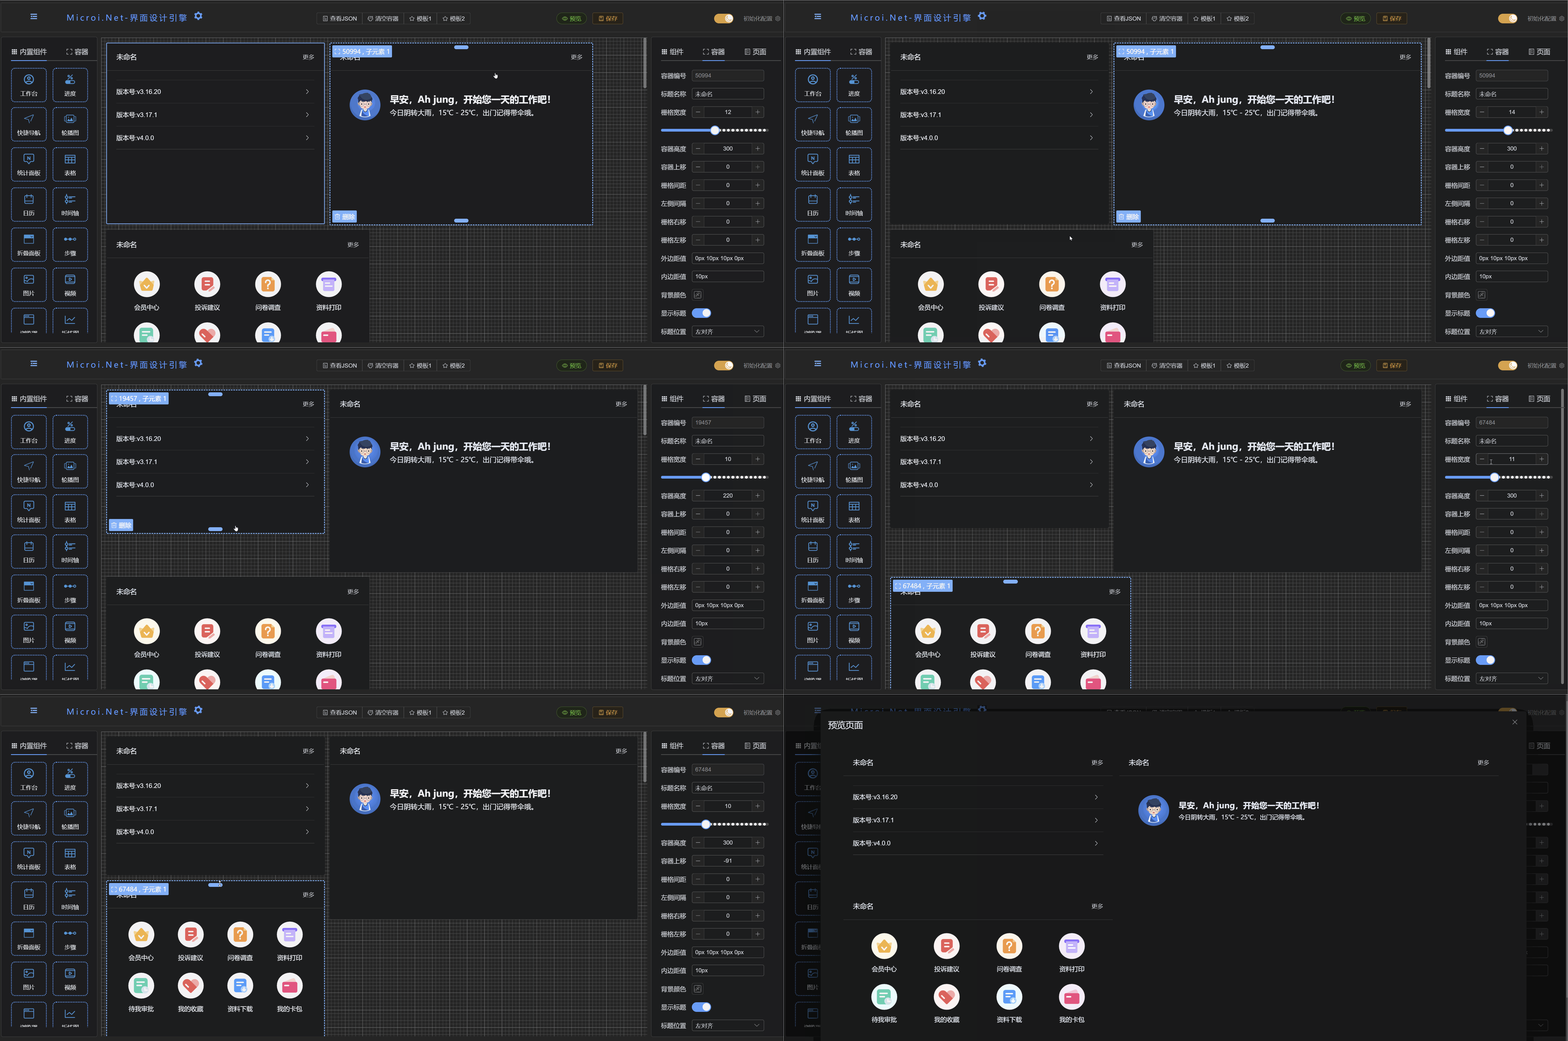
Introduction to the principle of typesetting
adoptedElementPlus, the overall typesetting method is usedel-rowGrid adaptive typesetting, here mainly to support the mobile terminal can be adaptive, at the same time do some SAO operation can realize waterfall flow typesetting, em ~~ is really unique!, I admire myself, haha.
Introduction to Persistence
When you design a beautiful page, how do you save the template for the next use?
- Way 1:Save the current page' JSON' to the local, save it to' JSON' file or text file, and directly take it out and' JSON' and pass it on to the renderer in the next rendering.
- Way 2:Persistence is saved to the database, and the next time the renderer reads it directly through the 'webapi' interface.
dynamic data source
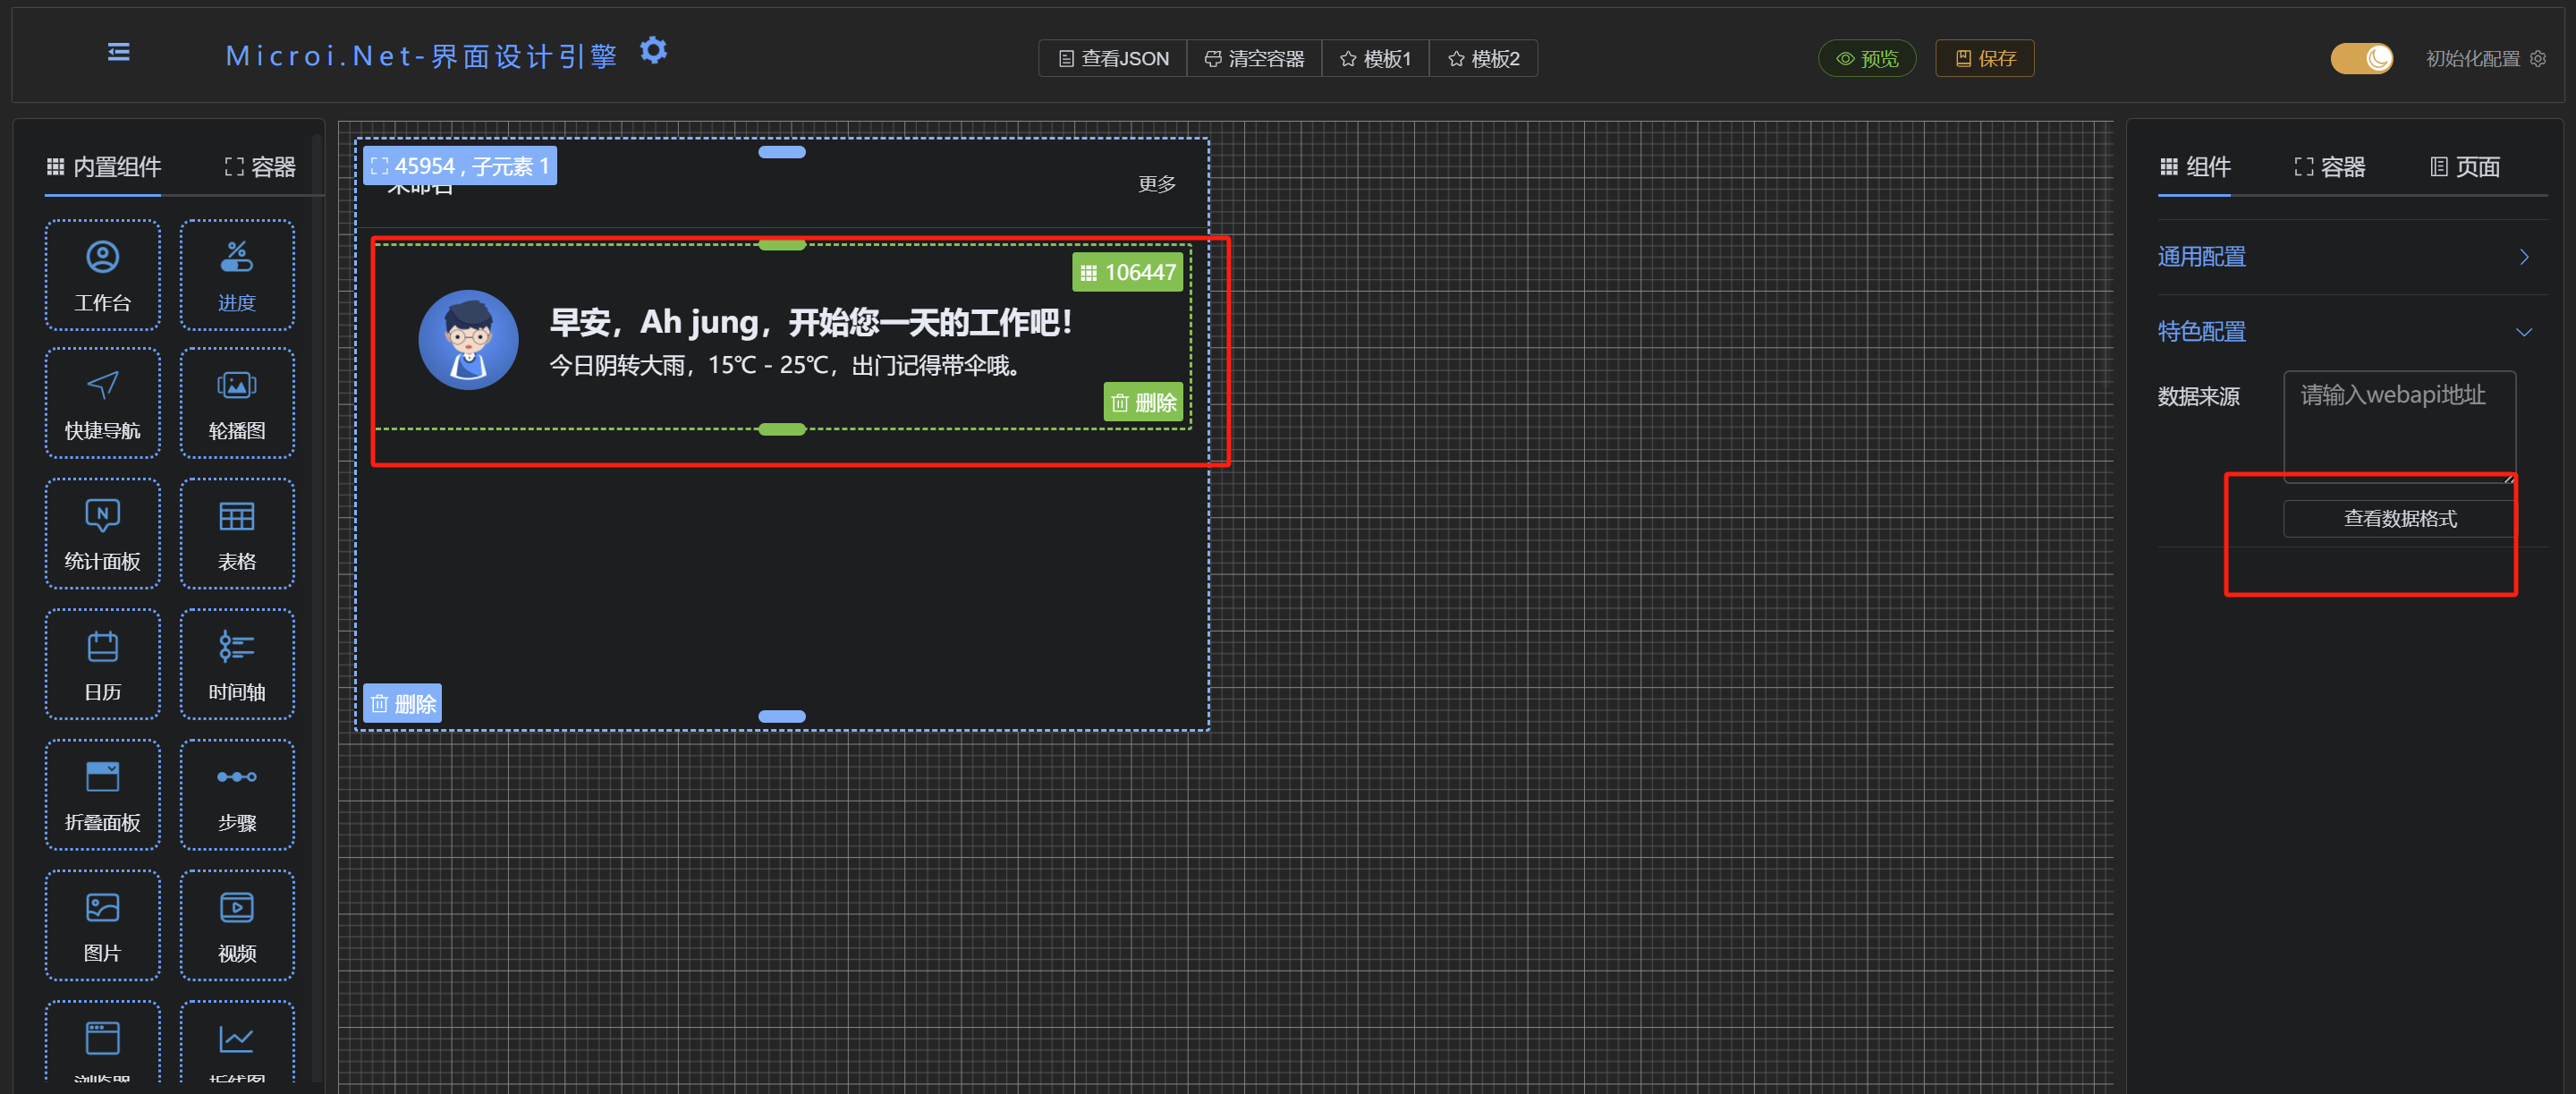
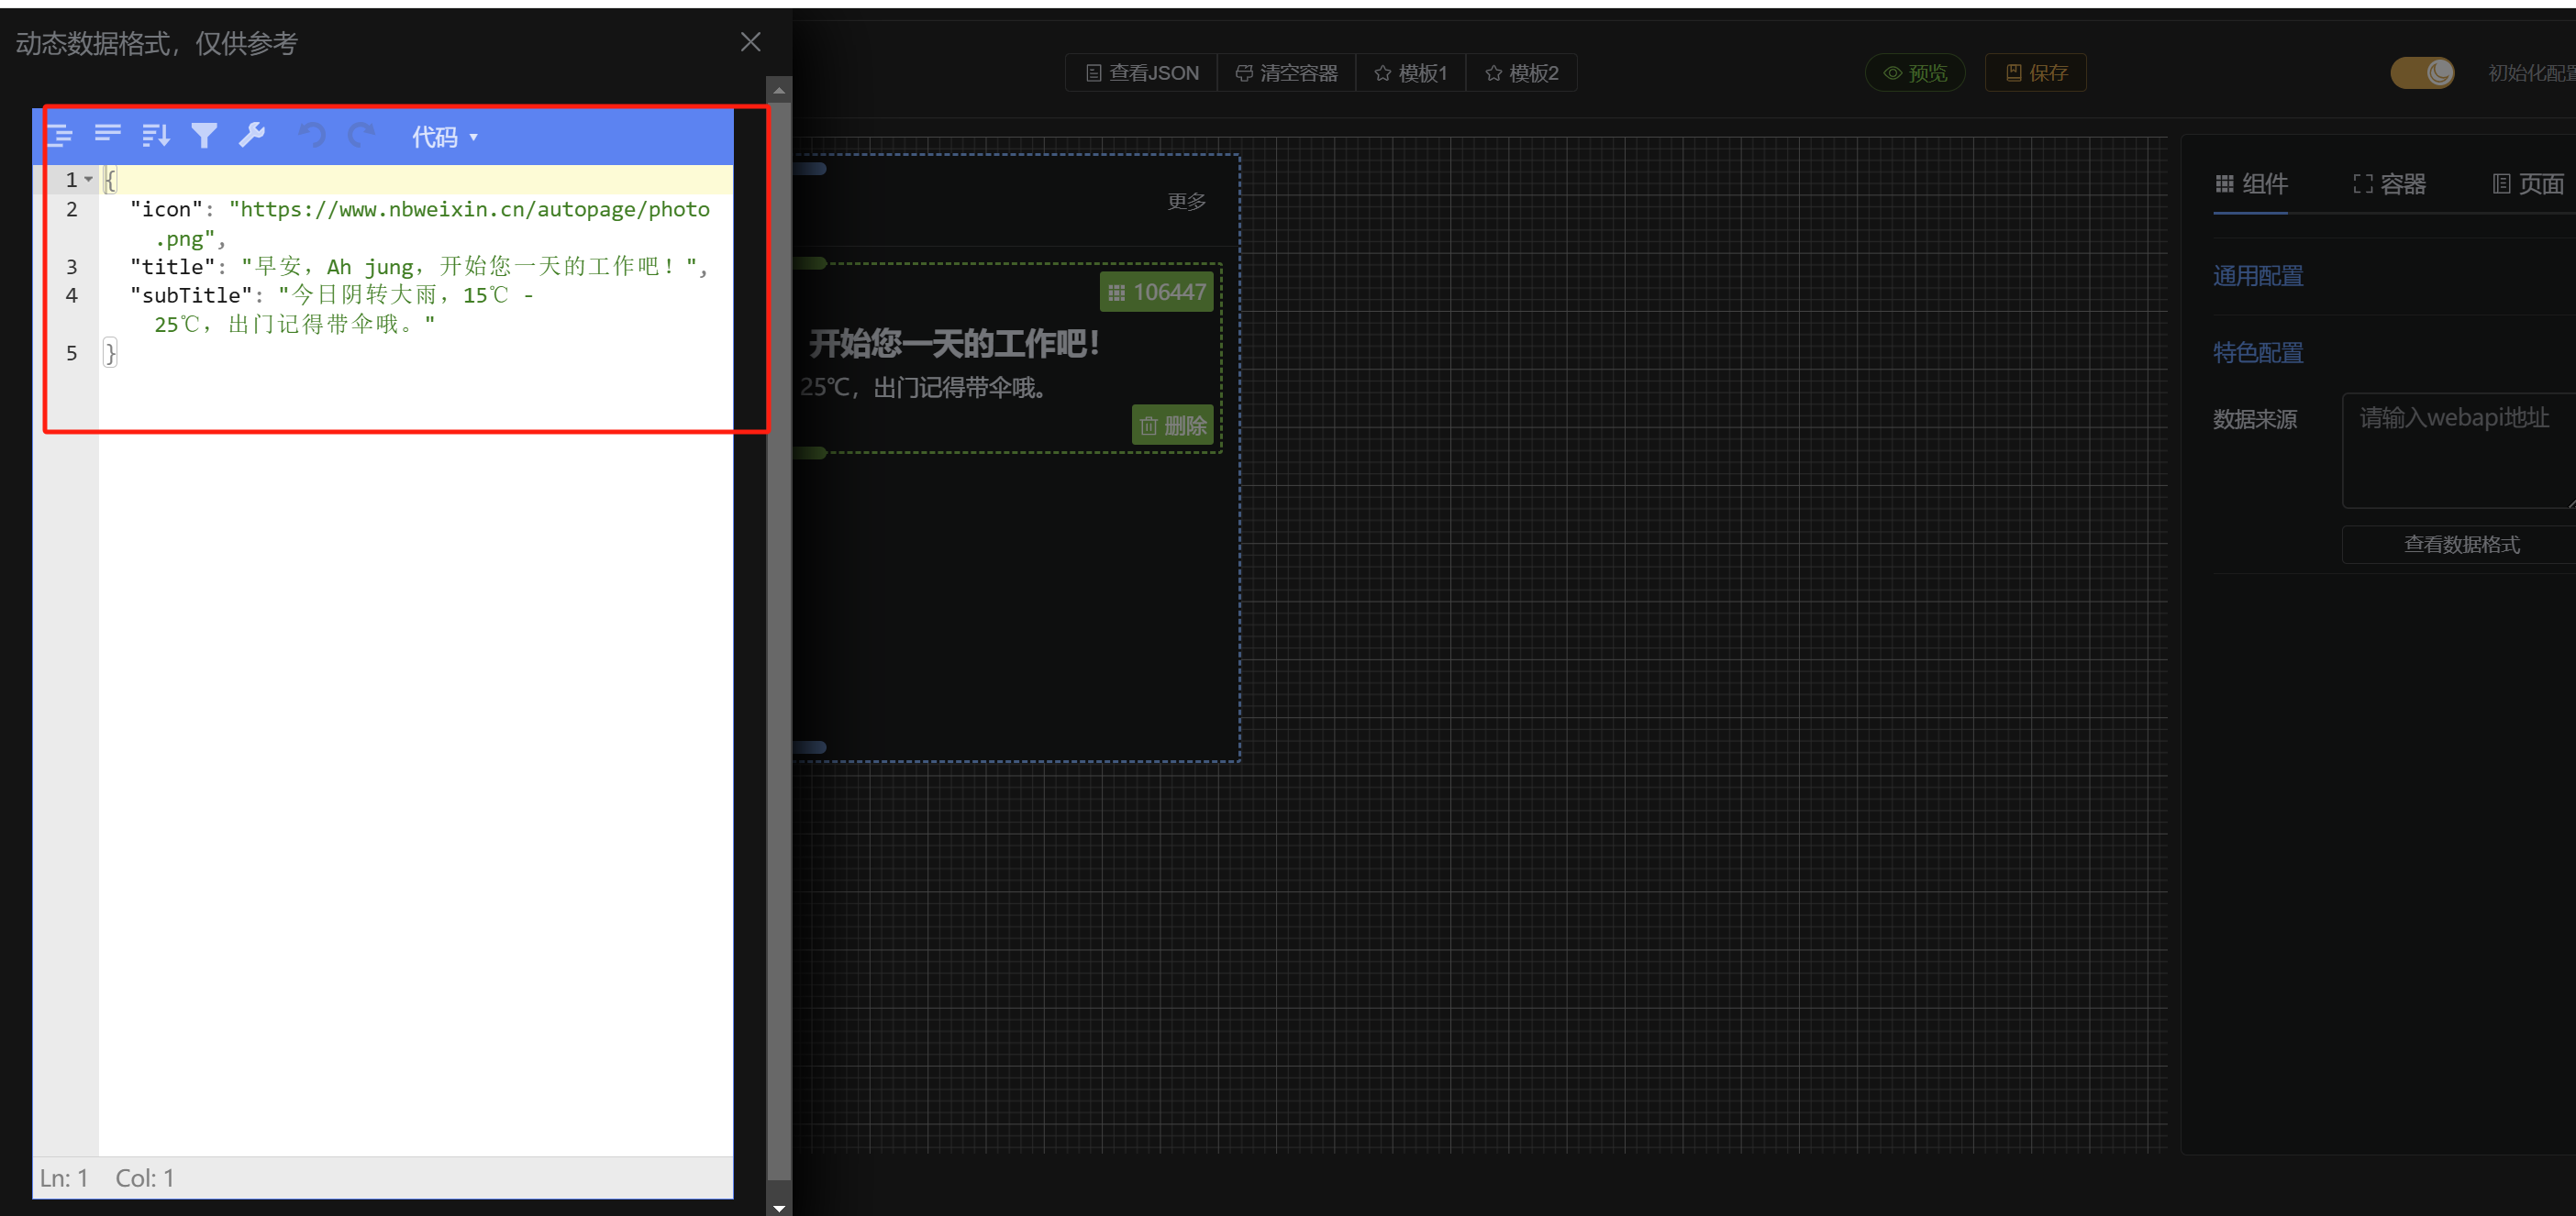
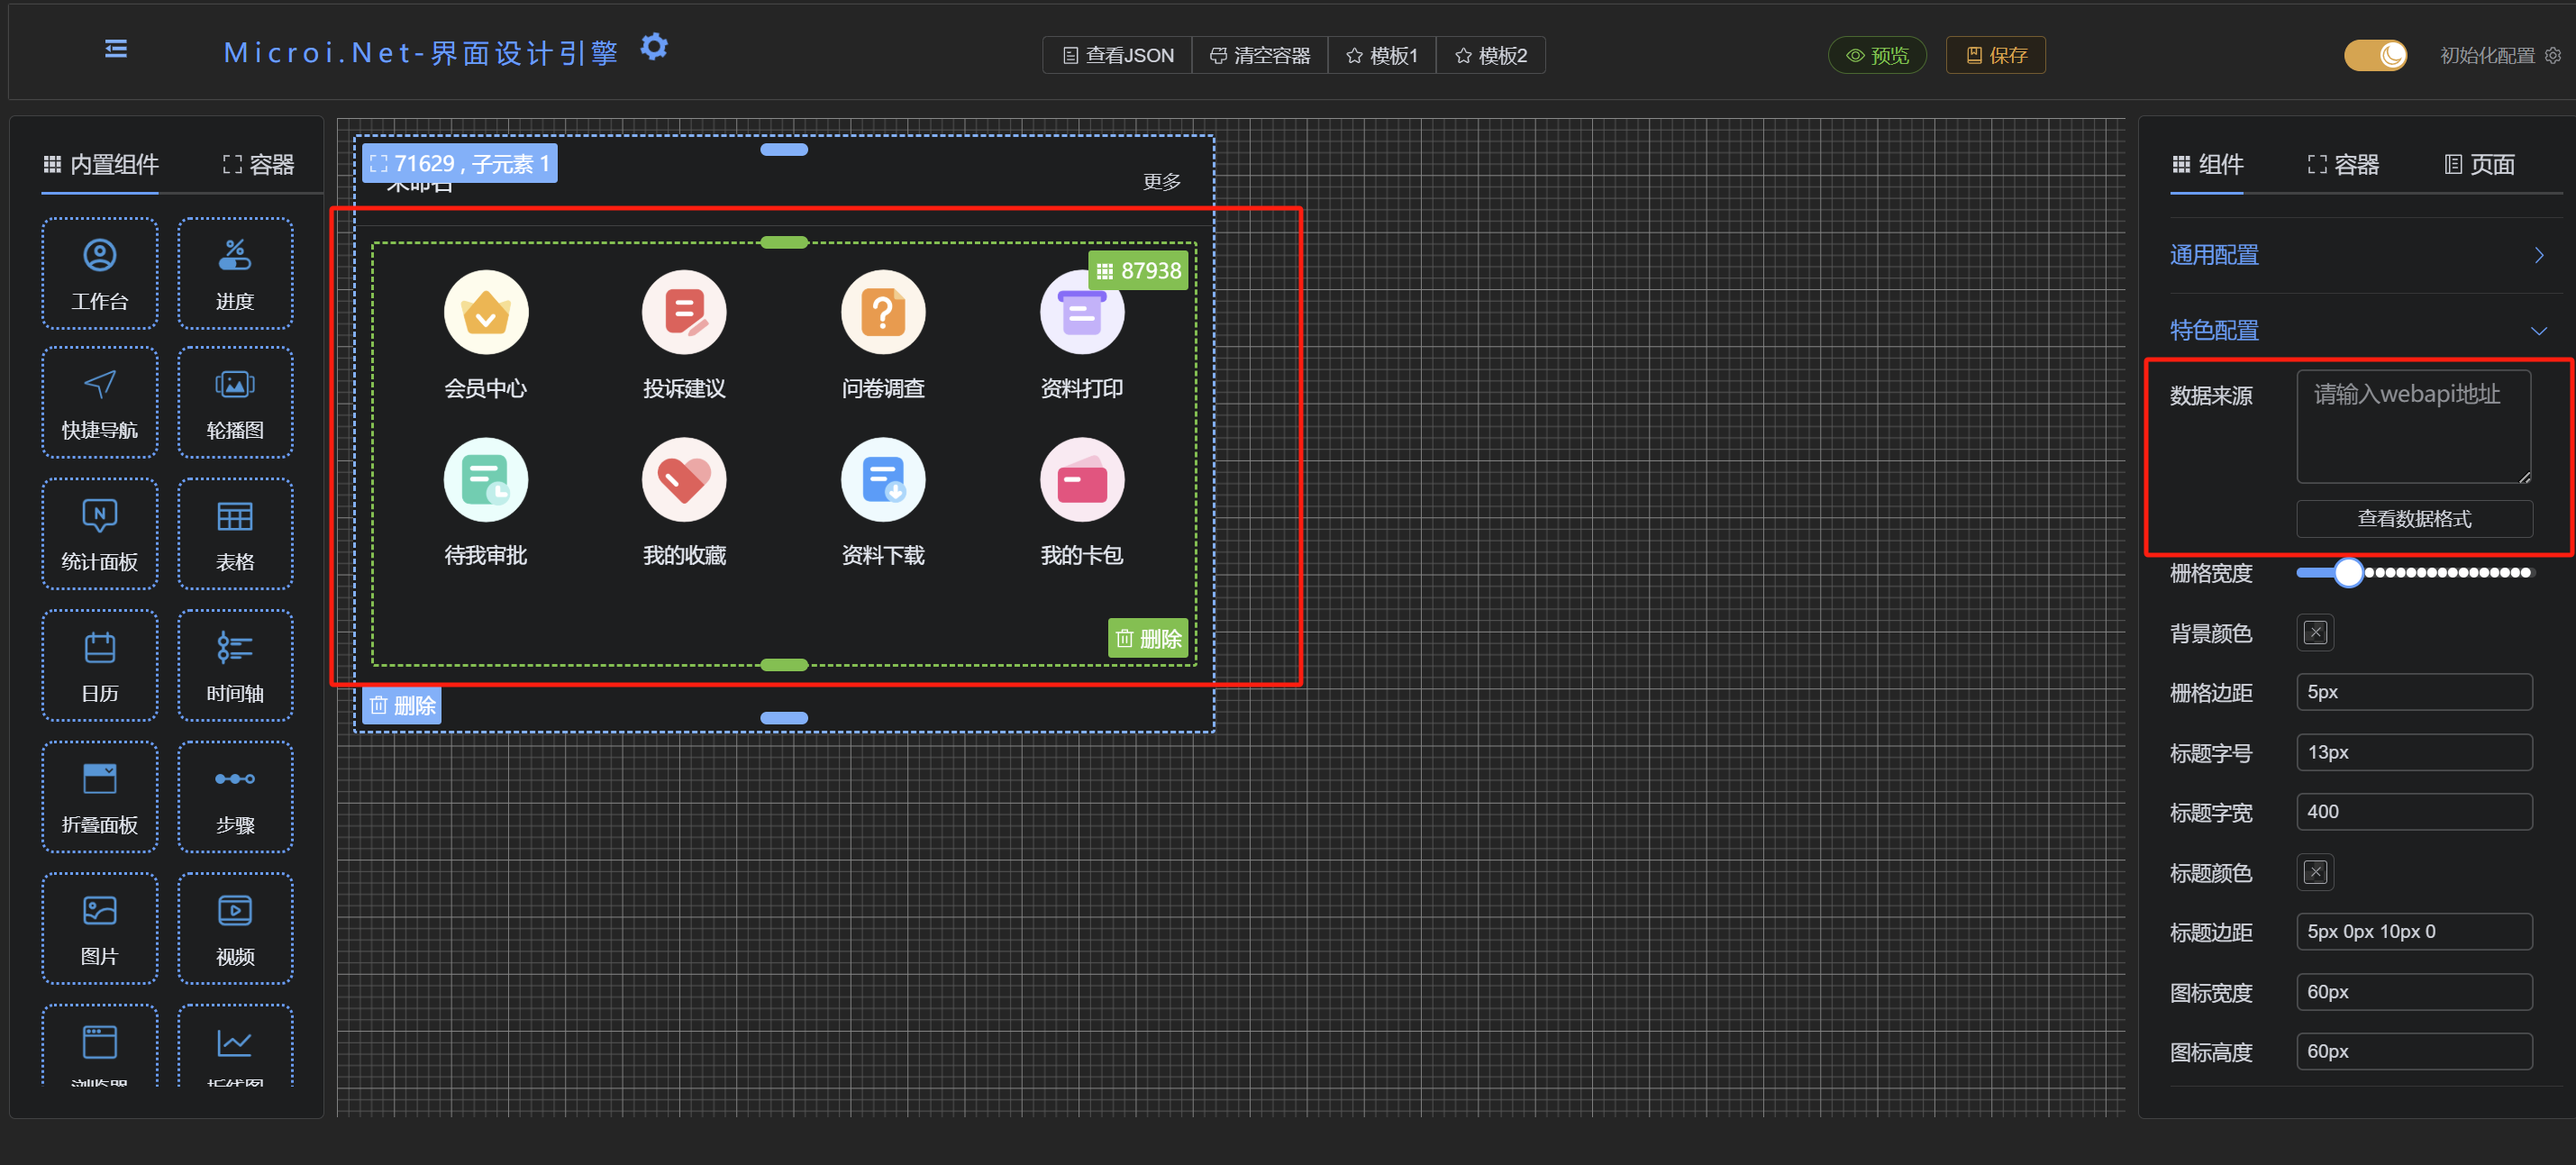
All custom and built-in components support dynamic data sources throughwebapiThe interface is replaced with its own data source. Pay attention to the observation format, which is generally divided into object format and array format. If it is in array format, the component content is traversable. The default data of the component may not meet the needs of all users, and you can try to do several yourself.webapiinterface to give it a try.
- Format 1:object ('object') The following data format is a typical object format.
- Format 2:Array ('array') The following data format is a typical array format.
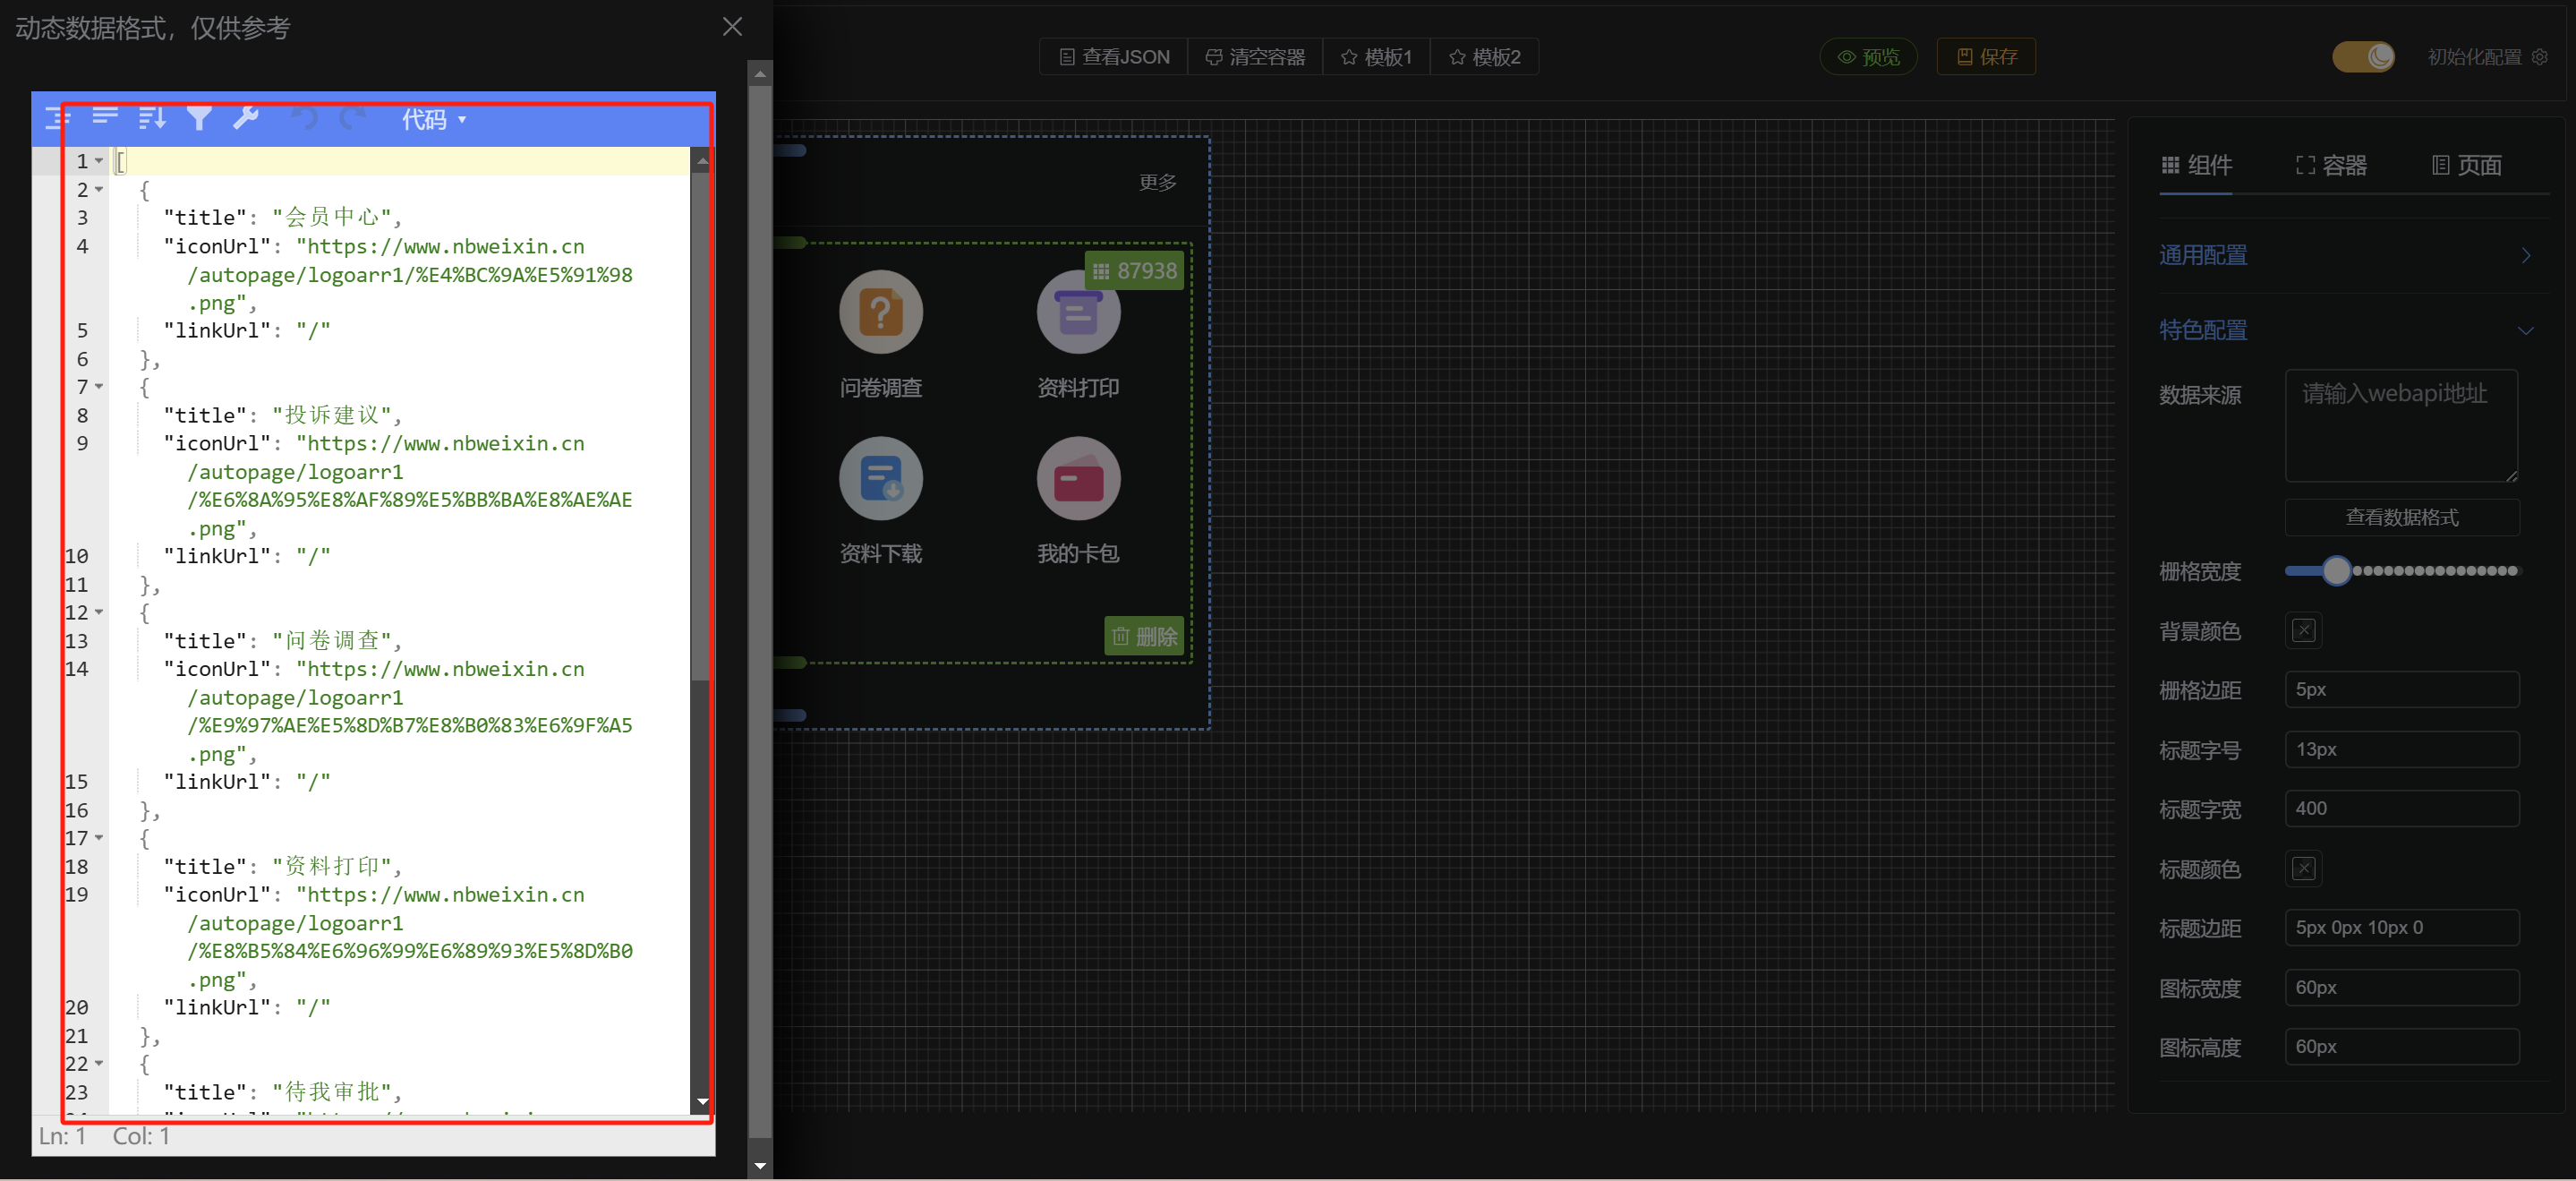
Integration mode
In addition to the common components built into the platform, users can develop their own components. The development of components is very simple. All business logic and containers in the components are zero-coupled. When designing, all common services and functions are separated from the package. The main focus is on non-interference and distance produces beauty. The current UI framework for the plug-in iselement plusThere is a rich library of third-party components and a sound documentation system to support secondary development.
npm package integration
- Advantages: You can customize extension components and design your own pages as you like without writing any additional business logic.
- Disadvantages: Requirements must be based on
vue3+vite+elementplus+echartsFramework, not supportedVue2and other front-end frameworks.
- Table structure:
Either way, if you want to persist, you must prepare a data table in the following format.
{
  Id: '', //页面ID
  Title: '',//页面标题
  Number: '',//页面编号
  Desc: '',//页面描述
  JsonObj: {}|'' //对象或者字符串,这里主要存储页面JSON
}- Icon library installation
npm install @element-plus/icons-vue- Global registration icon
// main.js
import * as ElementPlusIconsVue from '@element-plus/icons-vue'
const app = createApp(App)
for (const [key, component] of Object.entries(ElementPlusIconsVue)) {
  app.component(key, component)
}- Set Dark Theme
// main.js 引用暗黑模式样式
import 'element-plus/theme-chalk/dark/css-vars.css'- npm package dependency
npm i microi-pageengine@latesthere are all the third-party dependency packages, but it is not necessary to install all the third-party components. the npm package has some built-in, so you only need to rely on the following.
// 我打包时排除了这些,所以你们集成时必须要有这些依赖包
      external: [
        'vue',
        'axios',
        'echarts',
        'element-plus',
        '@element-plus/icons-vue',
        'pinia',
        'sass',
        'sass-loader',
        'vue-router',
],- Complete demo
<template>
  <!-- 页面设计器 -->
  <formDesigner :remoteObj="remoteObj"/>
  <!-- 页面渲染器 -->
  <!-- <formRenderer :remoteObj="remoteObj" /> -->
</template>
<script setup>

//引入组件
import { formDesigner, EventBus, usePageEngineStore } from 'microi-pageengine'
//引入样式
import 'microi-pageengine/style.css'


//本地组件
import { useRouter } from 'vue-router'
import { createPinia } from 'pinia'
import { onMounted, onBeforeUnmount, ref } from 'vue'

//用自己的路由处理组件内部跳转,通过EventBus监听处理内部事件,主打一个自由自在,随心所欲.
const router = useRouter()

//状态机传参,npm包没包把pinia打包进去,正所谓巧妇难为无米之炊,给她传一个完事
const pinia = createPinia()
const pageEngineStore = usePageEngineStore(pinia)

//传入数据,这个数据不知道什么格式,可以在设计器拖拽几个组件查看下页面JSON ,和渲染JSON一毛一样的
const remoteObj = ref({
  Id: '', //自定义页面ID
  Title: '',//自定义页面标题
  Number: '',//自定义页面编号
  Desc: '',//自定义页面描述
  JsonObj: {}|'' //对象或者字符串
})


//模拟加载远程数据
const loadFormData = () => {}

onMounted(() => {

  //如果需要token,设置token,该token一经接收即刻存入pinia状态机,每次调用接口通过拦截器自动处理token头,无需每次手动写,持久化用的localStorage ,可以F12查看
  pageEngineStore.setToken('')

  //下面这一大串监听,其实也可以写到一个事件里,通过key value 键值对来区分,暂时先这么着吧

  //监听保存页面JSON事件
  EventBus.on('saveFormJson', (saveFormJson) => {
    console.log('监听saveFormJson', saveFormJson)
  })

  //监听日历选择日期事件
  EventBus.on('calendarSelDate', (data) => {
    console.log('监听calendarSelDate', data)
  })

  //卡片更多跳转
  EventBus.on('cartMoreLink', (linkurl, linktype) => {
    console.log('监听cartMoreLink', linkurl, linktype)
    if (linktype == 'router') {
      router.push(linkurl)
    }
  })

  //链接组件跳转
  EventBus.on('linkWidget', (linkurl, linktype) => {
    console.log('监听linkWidget', linkurl, linktype)
    if (linktype == 'router') {
      router.push(linkurl)
    }
  })

  //鱼骨图跳转
  EventBus.on('fishWidget', (linkurl) => {
    console.log('监听fishWidget', linkurl)
    router.push(linkurl)
  })

  //步骤跳转
  EventBus.on('stepsWidget', (id, linkurl) => {
    console.log('监听stepsWidget', id, linkurl)
    router.push(linkurl)
  })

})

//销毁
onBeforeUnmount(() => {
  EventBus.off('saveFormJson')
  EventBus.off('calendarSelDate')
  EventBus.off('cartMoreLink')
  EventBus.off('linkWidget')
  EventBus.off('fishWidget')
  EventBus.off('stepsWidget')
})
</scrip>

<style>
.dark {
  background: #252525;
  color: white;
}
.light {
  background-color: white;
  color: black;
}
</style>iframe plug-in form integration
Any front-end framework can be integrated. To put it bluntly, this mode is versatile. It is stateless, does not rely on any front-end and back-end, has high cohesion and low coupling, and can integrate any platform.
- Advantages: can dock any platform, no state, no infection, zero coupling, convenient and fast.
- Disadvantages: Only built-in components can be used, not custom components.
Core Principles Platform integrated use
frame, embed the page designer into your own page, through.postMessageTo communicate with the parent page, the parent page can get the page generated by the designer.JSON, can also puttokenPass to the designer.Complete demo
### Vue3组合式 集成demo

```vue
<template>
  <div v-loading="loading" class="iframe-container">
    <iframe
      ref="myIframe"
      id="iframe"
      :src="src"
      frameborder="0"
      width="100%"
      height="730px"
      @load="onIframeLoad"
    ></iframe>
  </div>
</template>

<script setup>
import { ref, onMounted, onBeforeUnmount } from 'vue'
const loading = ref(true)
const src = ref('https://www.nbweixin.cn/autopage/')

const myIframe = ref(null)

//模拟数据库数据
const demoObj = {
  Id: 31908,
  Title: '测试标题',
  Number: 'page_31908',
  Desc: '这是一个空的页面模板',
  JsonObj: {} //对象或者字符串
}

// 监听 iframe 是否加载完成
const onIframeLoad = () => {
  console.log('Iframe 已加载完成')
  loading.value = false
  sendMessageToIframe()
}

const sendMessageToIframe = () => {
  // 要发送的数据
  const dataToSend = {
    iframeToken: 'token_test', //自定义token
    iframeFormData: JSON.stringify(demoObj), //页面JSON,新增的话JsonObj留空就行
  }
  // 使用 postMessage 发送数据给 iframe
  myIframe.value.contentWindow.postMessage(dataToSend, '*')
}

//监听iframe 内部透传事件
let pageengineEvent = null
pageengineEvent = function (event) {
  if (event.data) {
    switch (event.data.key) {
      //保存页面json
      case 'saveFormJson':
        console.log('已接到到来自iframe消息,saveFormJson', event.data.value)
        let obj = JSON.parse(event.data.value)
        console.log(obj)
        break
      //监听日历选择日期事件
      case 'calendarSelDate':
        console.log('已接到到来自iframe消息,calendarSelDate', event.data.value)
        break
      //监听日历选择日期事件
      case 'calendarSelDate':
        console.log('已接到到来自iframe消息,calendarSelDate', event.data.value)
        break
      //卡片更多跳转
      case 'cartMoreLink':
        console.log(
          '已接到到来自iframe消息,cartMoreLink 监听',
          event.data.value
        )
        break
      //链接组件跳转
      case 'linkWidget':
        console.log('已接到到来自iframe消息,linkWidget', event.data.value)
        break
      //鱼骨图跳转
      case 'fishWidget':
        console.log('已接到到来自iframe消息,fishWidget', event.data.value)
        break
      //步骤跳转
      case 'stepsWidget':
        console.log('已接到到来自iframe消息,stepsWidget', event.data.value)
        break
      default:
        break
    }
  }
}
window.addEventListener('message', pageengineEvent)
onMounted(() => {})

onBeforeUnmount(() => {
  window.removeEventListener('message', pageengineEvent)
})
</script>

<style lang="scss" scoped></style>页面效果图
