Print Engine
Introduction
The print engine mainly solves the dynamic printing task of low-code platform, I can say that as long as the killeriframe htmlComponents that can basically meet most of the customer's rude printing requirements.
Demo Address: https://www.nbweixin.cn/autoprint/
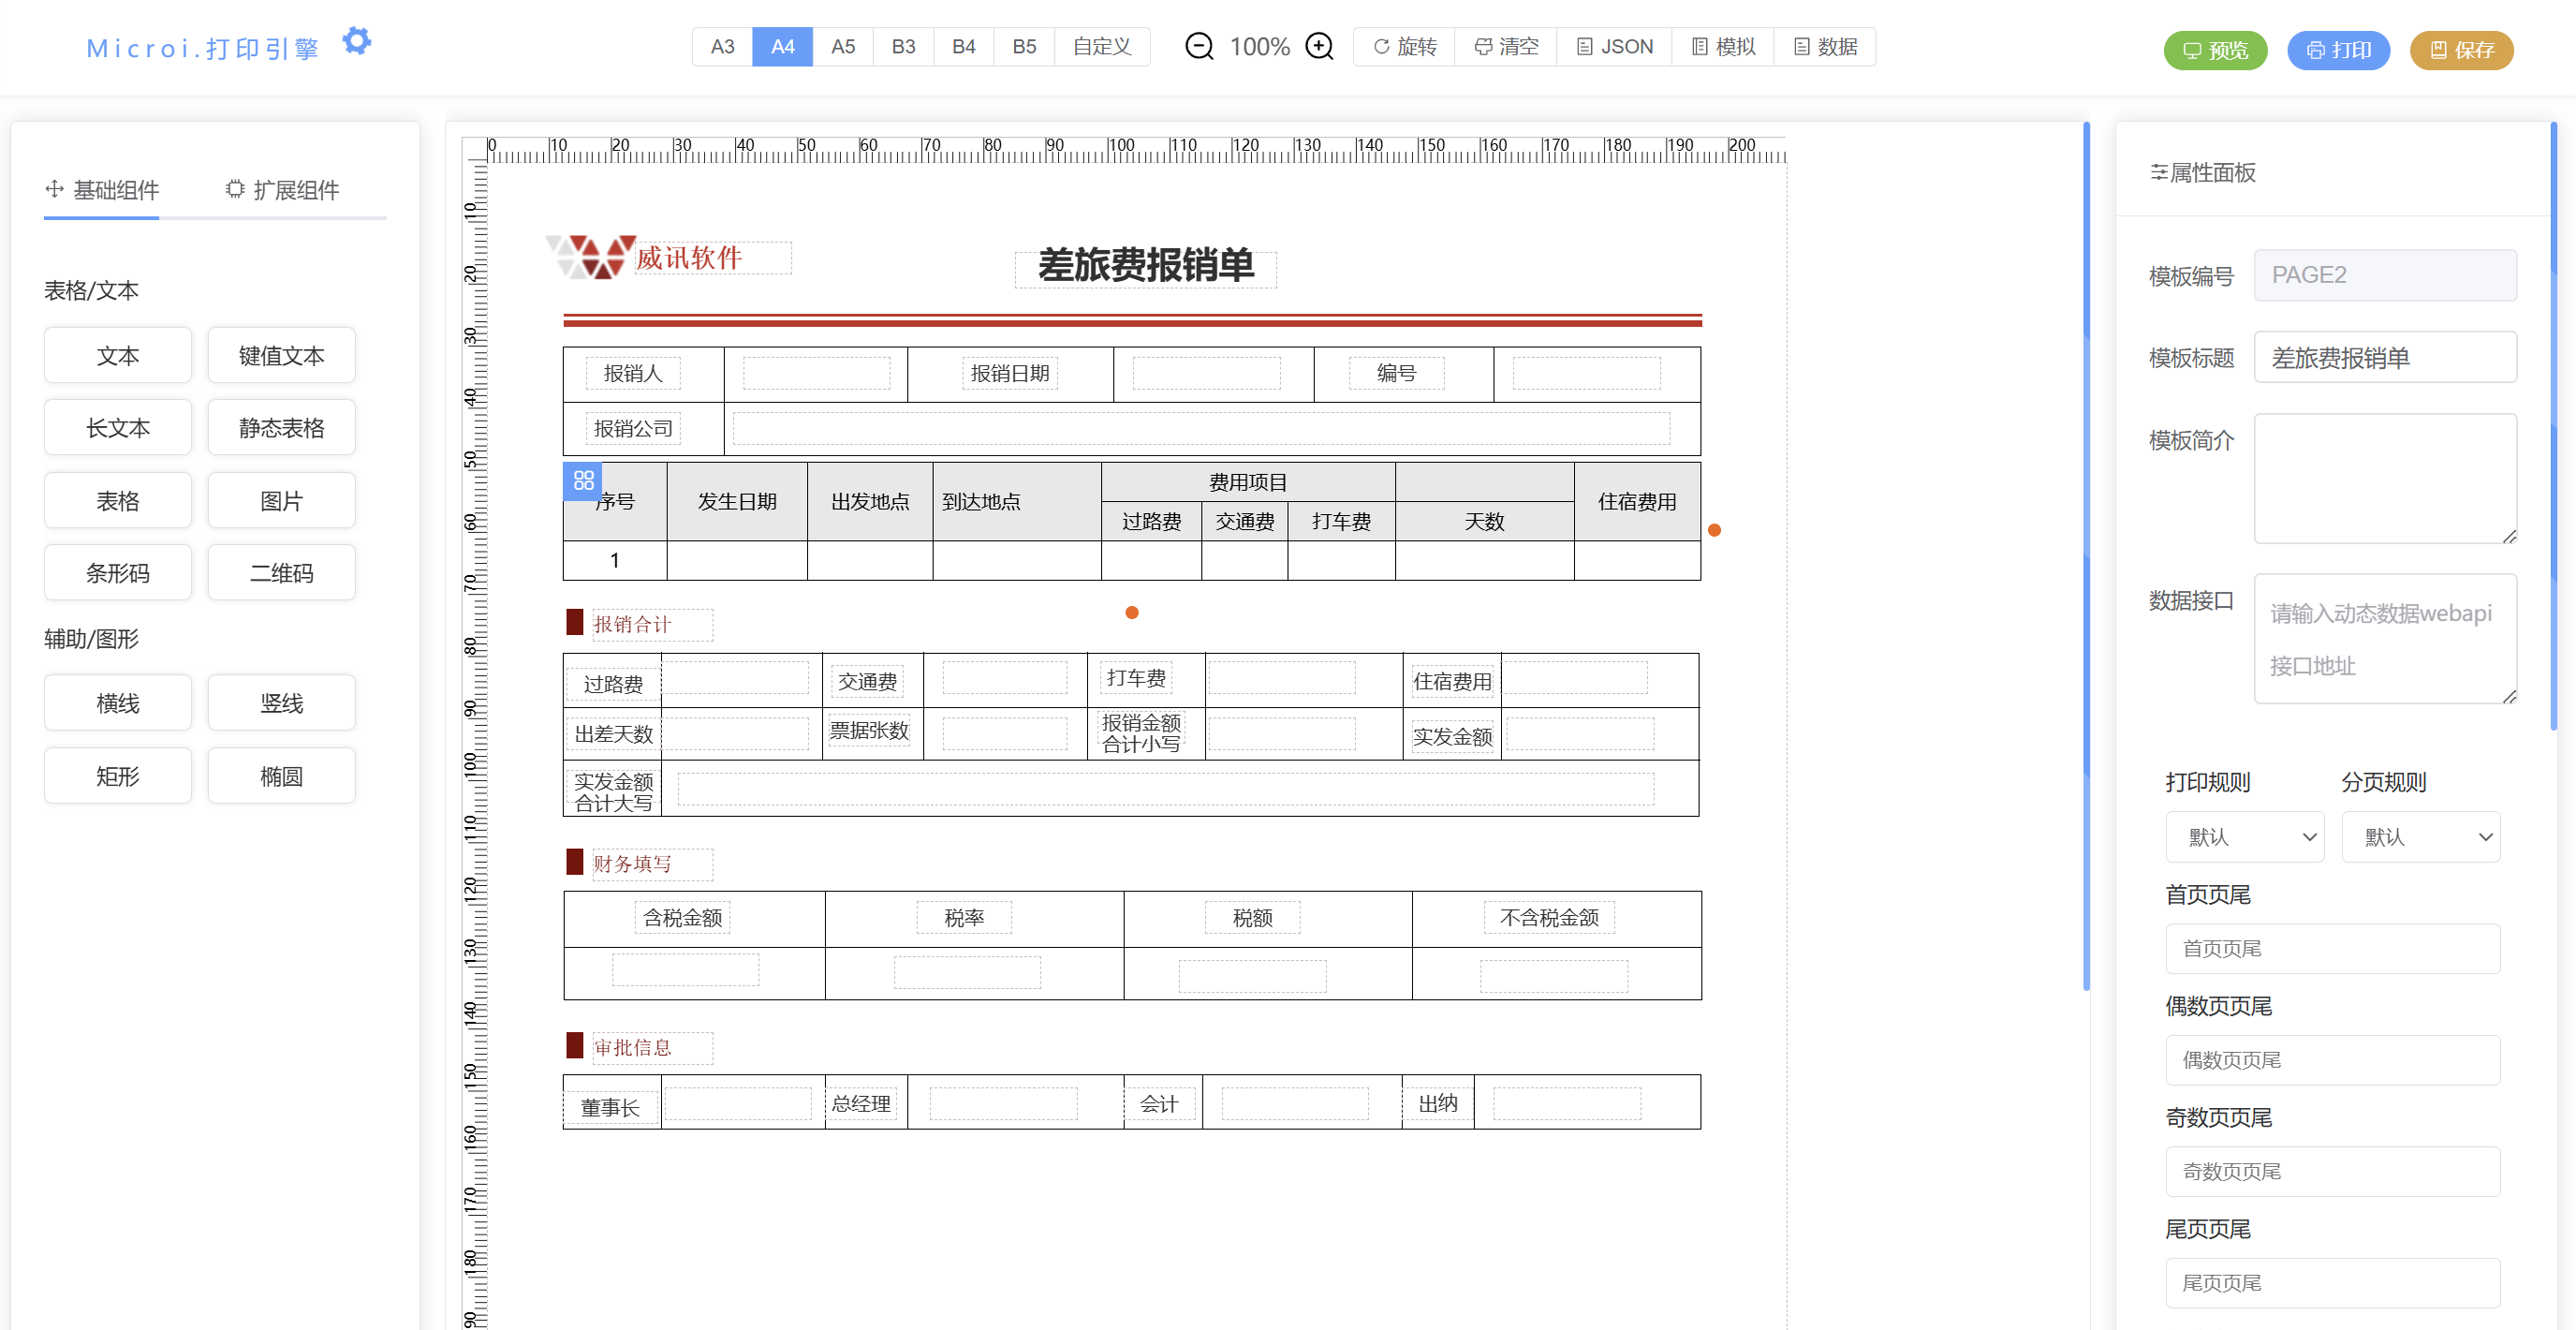
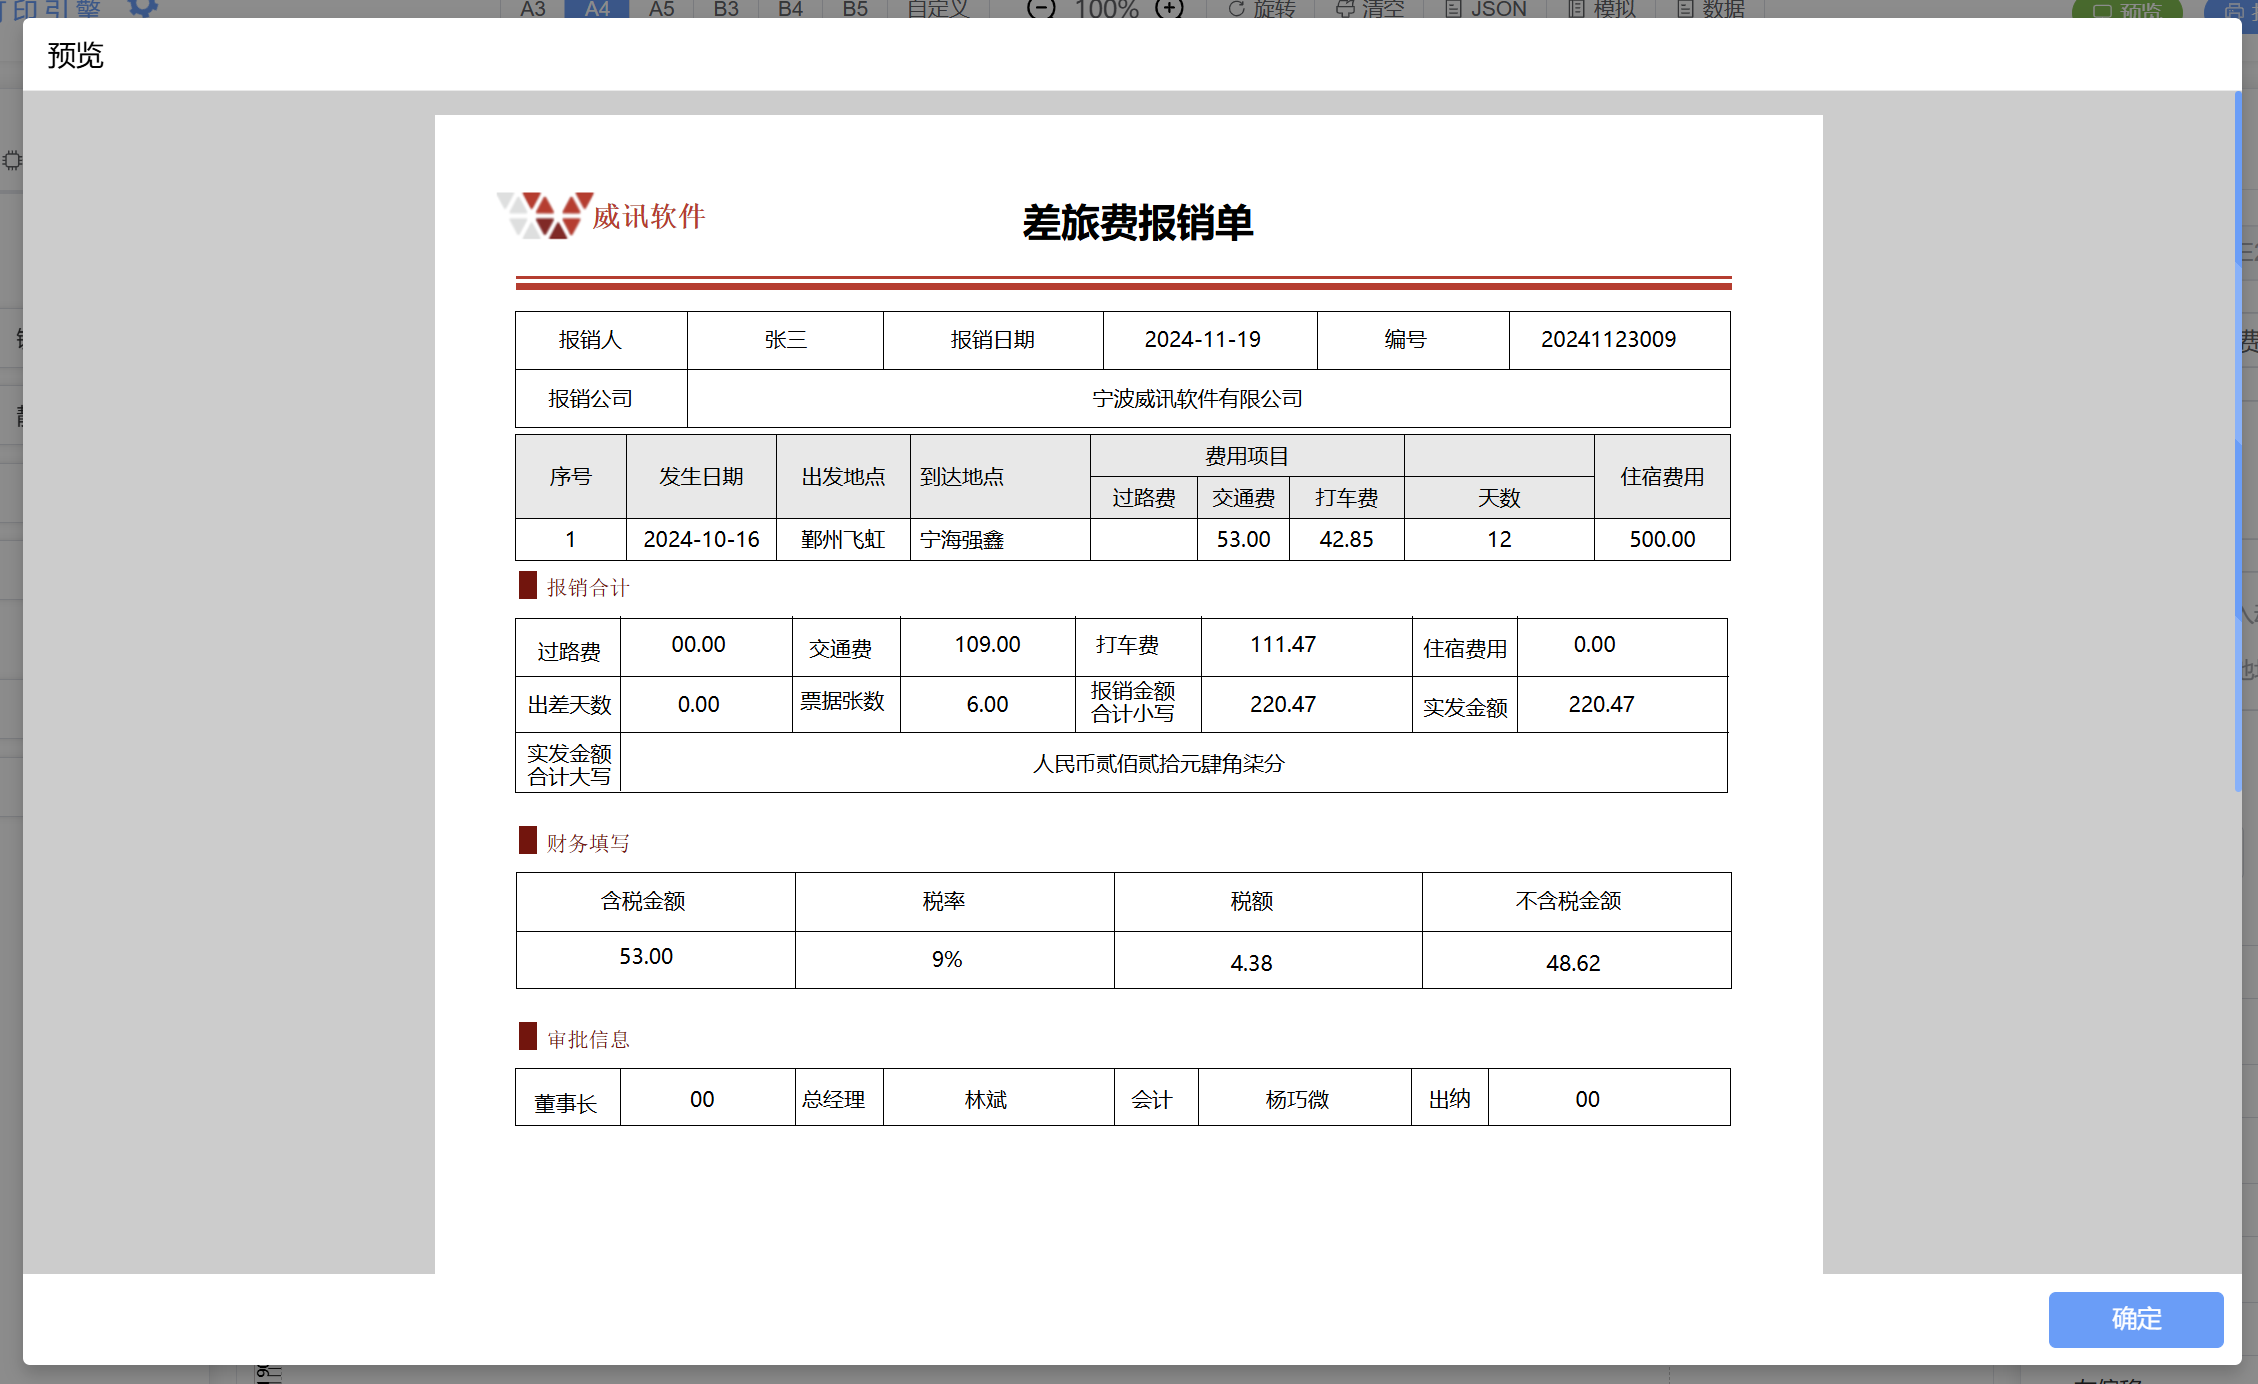
Effect drawing:


Plug-in features
Print components include:
- Normal Text:You can set a variety of text fonts, colors, background and other styles, indispensable role.
- Key-Value Pair Text:The common format of the print template, configured as above.
- Dynamic table:Super dynamic form, can achieve a variety of scene requirements, try to know.
- Static table:Basic business needs can be met.
- Two-dimensional code:It can meet the basic needs. If you need a better experience, you can use the forage QR code to make pictures.
- Picture:Facade, people rely on clothes, horses rely on saddles, exquisite templates are essential.
- Barcode:It can meet the basic needs. If you need a better experience, you can use the forage QR code to make pictures.
- Data Charts:The 'echart' chart can be configured.
- Line:There are solid lines, dotted lines, etc., to meet basic needs, and the style is adjustable.
- Basic Graphics:There are round, rectangular and so on.
- gutter:It's actually a line.
- Business Components:Presupposing commonly used business template components according to actual business scenarios can save a lot of time.
- html:Generally speaking, it is not necessary. It is mainly used to solve difficult problems. Don't forget to have it when you encounter a template that cannot be solved.
Integration mode
npm package integration
- Advantages:You can customize the extension components and design your own pages as you like without writing any additional business logic.
- Disadvantages:The requirements must be based on the 'vue3 vite elementplus echarts' framework, and 'Vue2' and other front-end frameworks are not supported.
- Table structure Either way, if you want to persist, you must prepare a data table in the following format.
## 表结构,不管哪种方式集成,如果要持久化,那必须准备一张数据表,格式如下
{
    Id: '', //打印模板ID
    Title: '', //模板标题
    Number: '', //模板编号
    Desc: '', //模板描述
    DataApi: '', //数据接口
    PageObj: {} //页面json对象,存储自行转字符串
    PrintObj: {}, //动态打印对象,存储自行转字符串
}- Icon library installation
npm install @element-plus/icons-vue- Global registration icon
// main.js
import * as ElementPlusIconsVue from '@element-plus/icons-vue'
const app = createApp(App)
for (const [key, component] of Object.entries(ElementPlusIconsVue)) {
  app.component(key, component)
}- npm package dependency Here are all the third-party dependency packages, but you don't have to install all the third-party components,
npmThe package has some built-in, just rely on the following.
// 我打包时排除了这些,所以你们集成时必须要有这些依赖包
      external: [
        'vue',
        'axios',
        'echarts',
        'element-plus',
        '@element-plus/icons-vue',
        'pinia',
        'sass',
        'sass-loader',
        'vue-router',
        'jquery',
],- Complete demo The basic preconditions are configured here, and only one needs to be created below.
vuePage, refer to the following code can run, is it very simple.
<template>
  <!-- 打印设计器 -->
  <printDesigner :remoteObj="remoteObj" />
</template>

<script setup>
import { onMounted, onBeforeUnmount, ref } from 'vue'

import { printDesigner, EventBus, usePrintEngineStore } from 'microi-printengine'
import 'microi-printengine/style.css'

// import printDesigner from '@/components/print-designer.vue'
// import { EventBus } from '@/utils/eventBus'
// import { usePrintEngineStore } from '@/stores/printEngine'

import { createPinia } from 'pinia'

//状态机传参,npm包没包把pinia打包进去,正所谓巧妇难为无米之炊,给她传一个完事
const pinia = createPinia()
const printEngineStore = usePrintEngineStore(pinia)

//传入数据,这个数据不知道什么格式,可以在设计器拖拽几个组件查看下页面JSON ,和渲染JSON一毛一样的
const remoteObj = ref({})

//模拟测试数据
remoteObj.value = {
  Id: '001',
  Title: '测试打印模板',
  Number: '001',
  Desc: '这是一个初始的默认测试模板,你应该按照这个格式建表',
  DataApi: '',
  PageObj: {},
  PrintObj: {},
}

onMounted(() => {
  //如果需要token,设置token,该token一经接收即刻存入pinia状态机,每次调用接口通过拦截器自动处理token头,无需每次手动写,持久化用的localStorage ,可以F12查看
  printEngineStore.setToken('print_token')

  //监听保存页面JSON事件
  EventBus.on('savePrintJson', (savePrintJson) => {
    console.log('监听到了savePrintJson', savePrintJson)
  })
})

//销毁
onBeforeUnmount(() => {
  EventBus.off('savePrintJson')
})
</script>

<style scoped>
.dark {
  background: #252525;
  color: white;
}

.light {
  background-color: white;
  color: black;
}
</style>iframe plug-in form integration
Any front-end framework can be integrated. To put it bluntly, this mode is versatile. It is stateless, does not rely on any front-end and back-end, has high cohesion and low coupling, and can integrate any platform.
- Advantages:Can dock any platform, no state, no infection, zero coupling, convenient and quick.
- Disadvantages:You can only use built-in components, not custom components.
Core Principles Platform integrated use
frame, embed the page designer into your own page, through.postMessageTo communicate with the parent page, the parent page can get the page generated by the designer.JSON, can also puttokenPass to the designer.Complete demo
### Vue3组合式 集成demo

<template>
  <div v-loading="loading" class="iframe-container">
    <iframe
      ref="myIframe"
      id="iframe"
      :src="src"
      frameborder="0"
      width="100%"
      height="730px"
      @load="onIframeLoad"
    ></iframe>
  </div>
</template>

<script setup>
import { ref, onMounted, onBeforeUnmount } from 'vue'
const loading = ref(true)
const src = ref('https://www.nbweixin.cn/autoprint')

const myIframe = ref(null)

//打印引擎模拟数据库数据
const demoObj = {
  Id: '001',
  Title: '测试打印模板',
  Number: '001',
  Desc: '这是一个初始的默认测试模板,你应该按照这个格式建表',
  DataApi: '',
  PageObj: {},
  PrintObj: {},
}

// 监听 iframe 是否加载完成
const onIframeLoad = () => {
  console.log('Iframe 已加载完成')
  loading.value = false
  sendMessageToIframe()
}

const sendMessageToIframe = () => {
  // 要发送的数据
  const dataToSend = {
    iframeToken: 'token_iframetest',
    iframeFormData: JSON.stringify(demoObj),
  }
  // 使用 postMessage 发送数据给 iframe
  myIframe.value.contentWindow.postMessage(dataToSend, '*')
}

//监听iframe 内部透传事件
let printengineEvent = null
printengineEvent = function (event) {
  if (event.data) {
    switch (event.data.key) {
      //保存页面json
      case 'savePrintJson':
        let obj = JSON.parse(event.data.value)
        console.log('收到的值', obj)
        break
      default:
        break
    }
  }
}
window.addEventListener('message', printengineEvent)
onMounted(() => {})

onBeforeUnmount(() => {
  window.removeEventListener('message', printengineEvent)
})
</script>

<style lang="scss" scoped></style>